If your client doesn’t have Excel or requests the file in Google Sheets format, you could create the document in Google Sheets from the start. However, it’s often more efficient to create it in the Excel environment you’re familiar with and then convert it to Google Sheets at the end. In this article, we’ll show you how to convert an Excel file to Google Sheets.
If you want to do the reverse, see our guide:How to Convert Google Sheets to Excel.
Open Google Drive
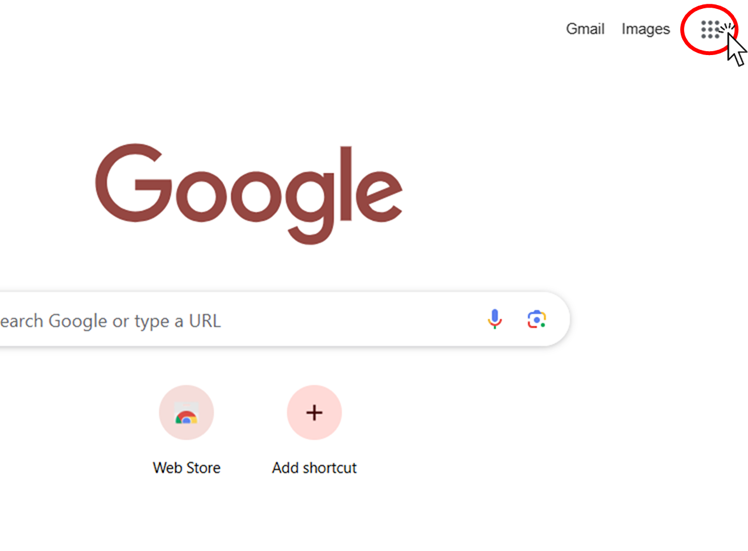
First, go to the Google homepage and click the button in the upper-right corner (highlighted in red in the image below).
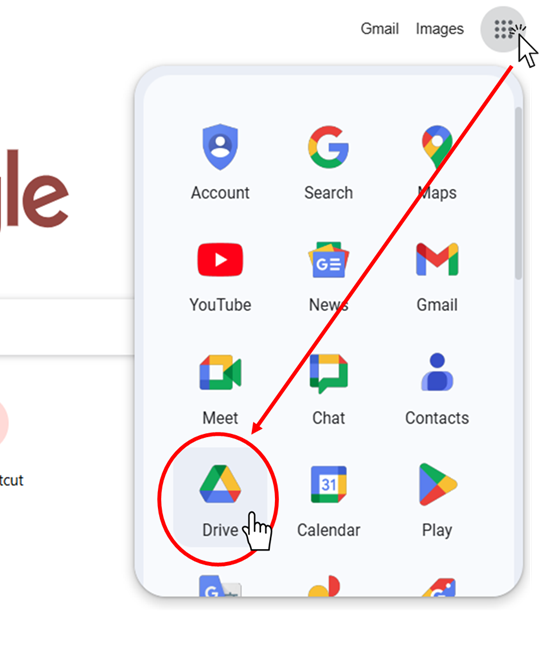
From the menu that appears, select Drive.
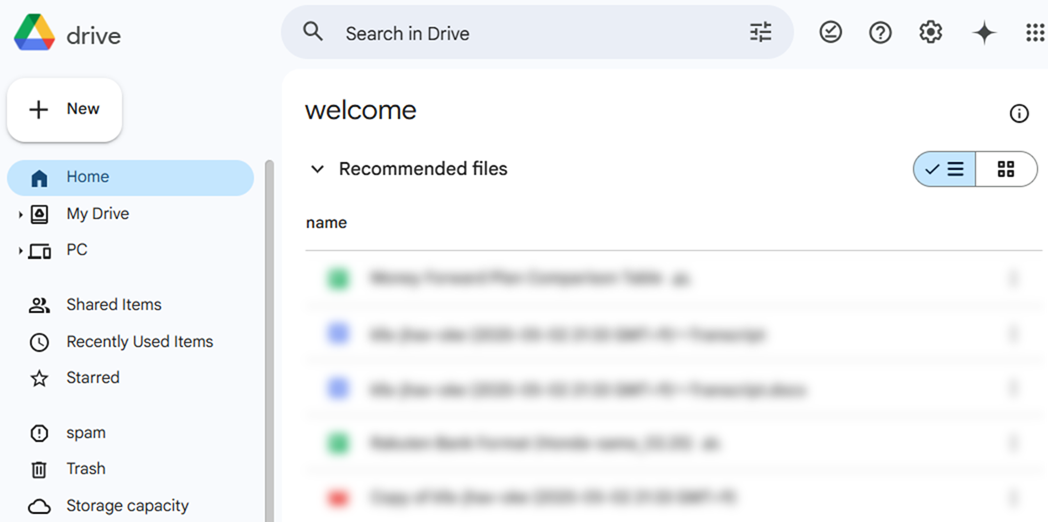
If you see the screen shown below, you’re ready to start using Google Drive.
Import the Excel File
Once you’ve opened Google Drive, you can upload your Excel file.
Click the【+New】button in Google Drive.

From the menu, select File upload.

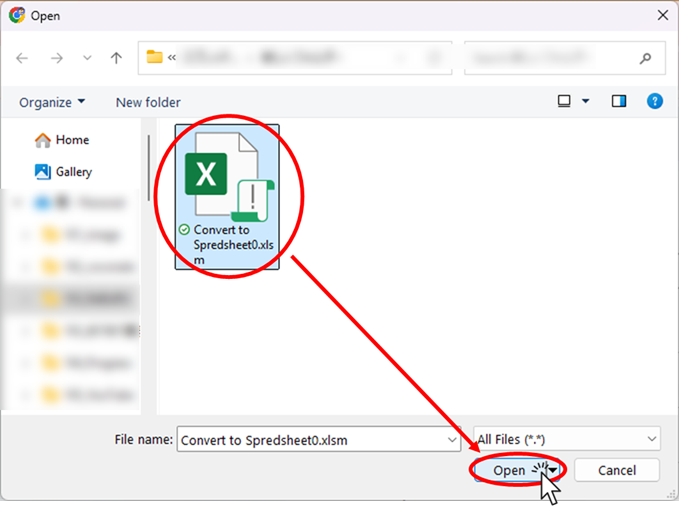
The file selection window will appear. Navigate to the folder containing the Excel file you want to upload, select it, and click Open.
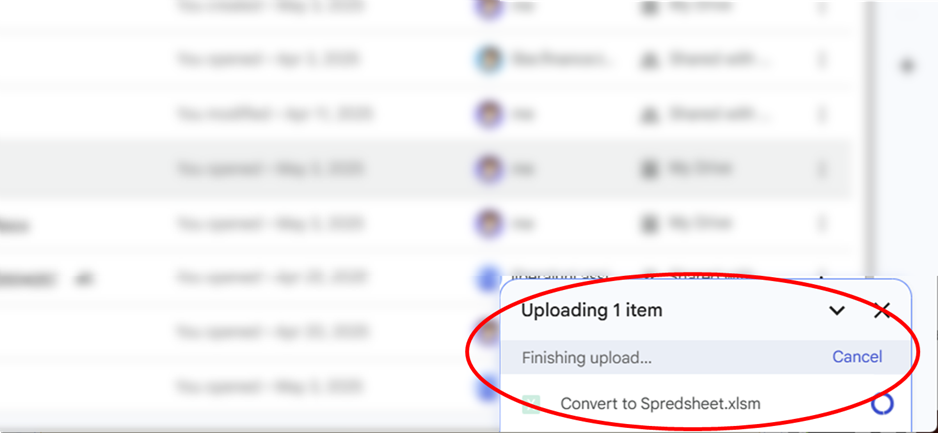
You’ll see the upload status in the lower-right corner of the screen.
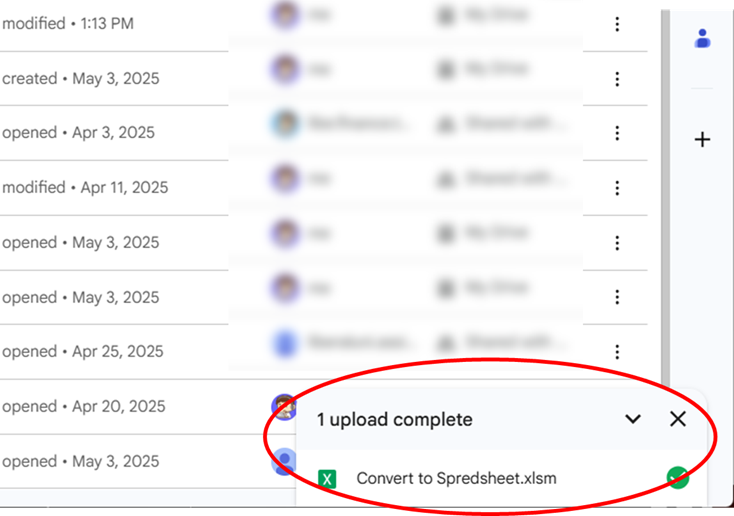
When the status changes as shown below, the upload has completed successfully.
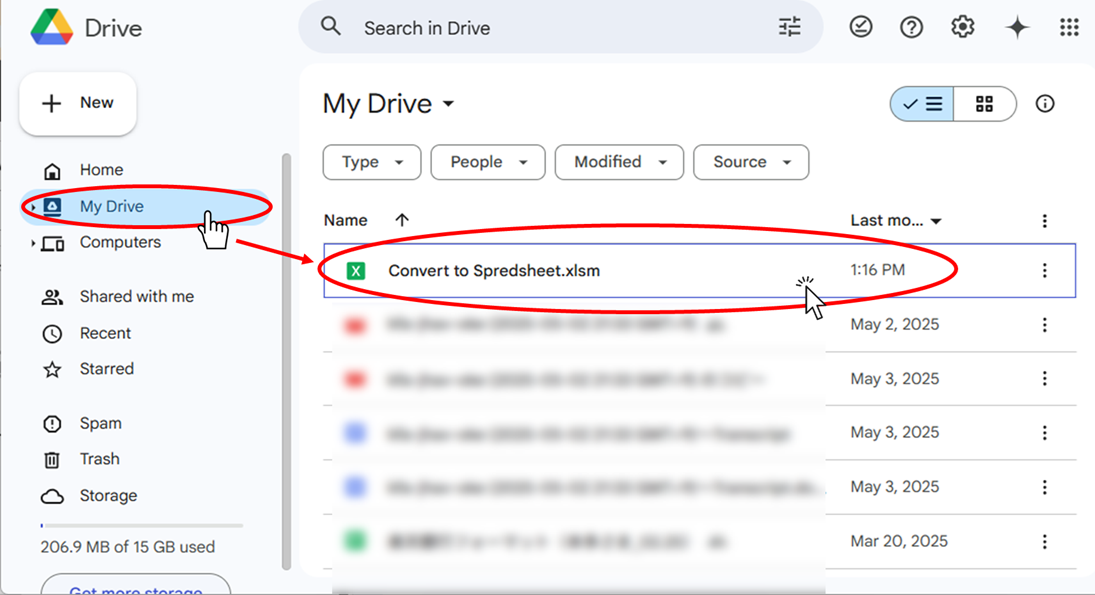
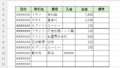
Open My Drive and locate the Excel file you just uploaded, then double-click it to open.
You can now view and edit the Excel file in Google Drive.

If you look closely, you’ll see the Excel extension (such as .XLSX or .XLSM) indicated in the red circle, confirming it’s still an Excel file.
Data can be edited and saved in this format.
Save as a Google Sheet
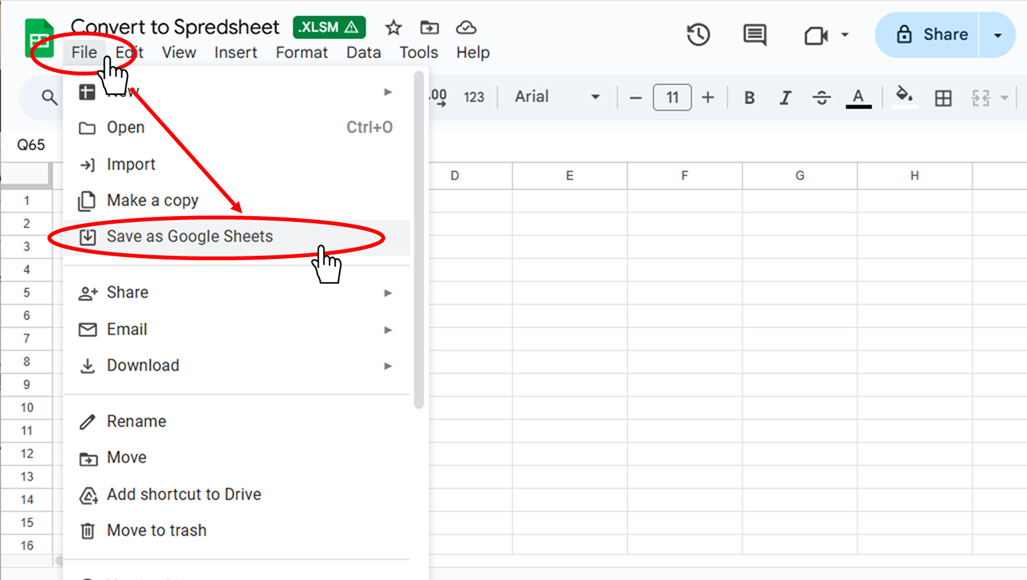
Next, we’ll convert the open Excel file into Google Sheets format.
In the File menu, click Save as Google Sheets.
A loading screen will briefly appear.

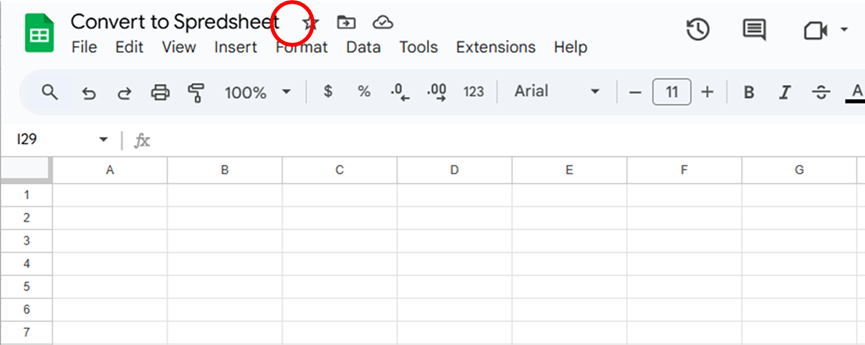
It will then open as a Google Spreadsheet as shown below.
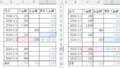
The file will then open in Google Sheets format. It will look almost identical to the original, but you’ll notice that the Excel extension (such as .XLSM) has disappeared.
Close the spreadsheet and return to Google Drive. If the new Google Sheet doesn’t appear immediately, refresh the page. You should now see the file without an Excel extension, indicating it’s a Google Sheet.
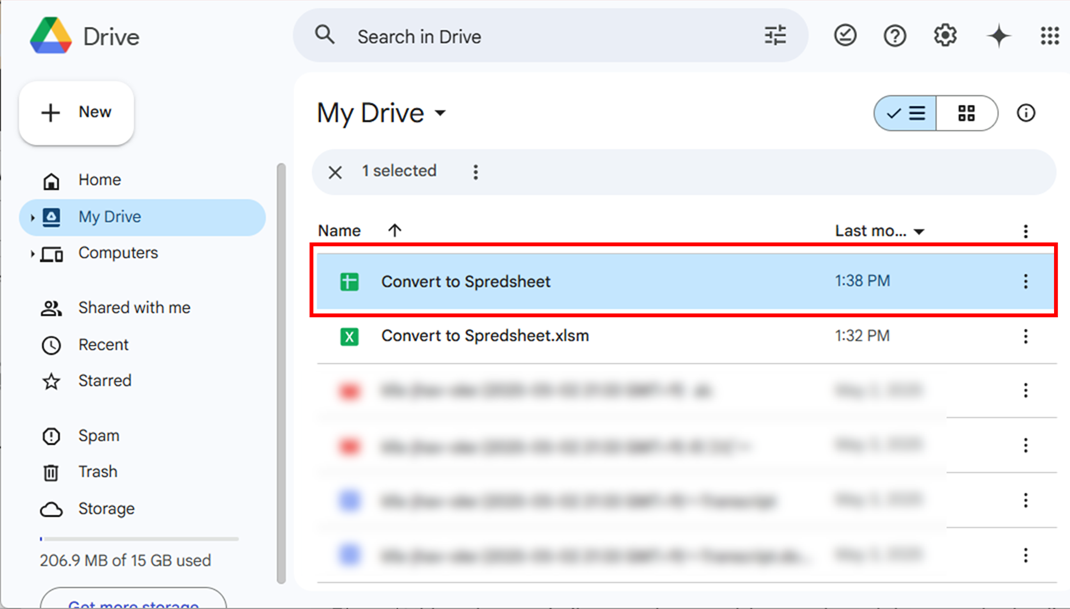
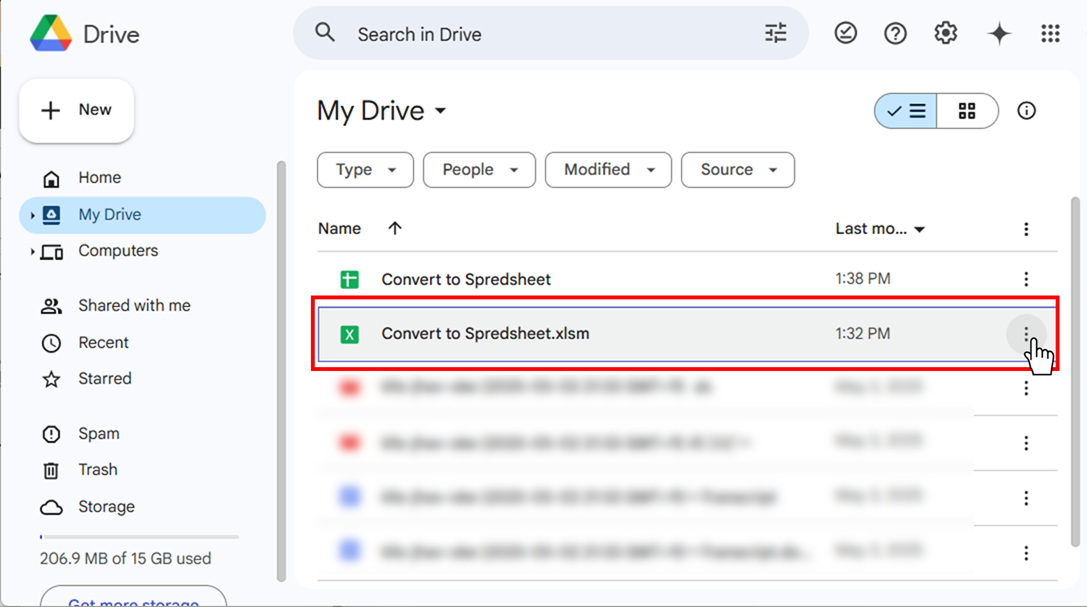
Although very similar in appearance, Excel files and Google Sheets can be distinguished by their icons:
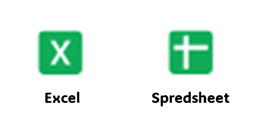
The Excel files have an X icon and the Google sheets have a grid icon.
You can keep both versions, but having two files with the same name can be confusing. In that case, it’s better to delete the Excel version:
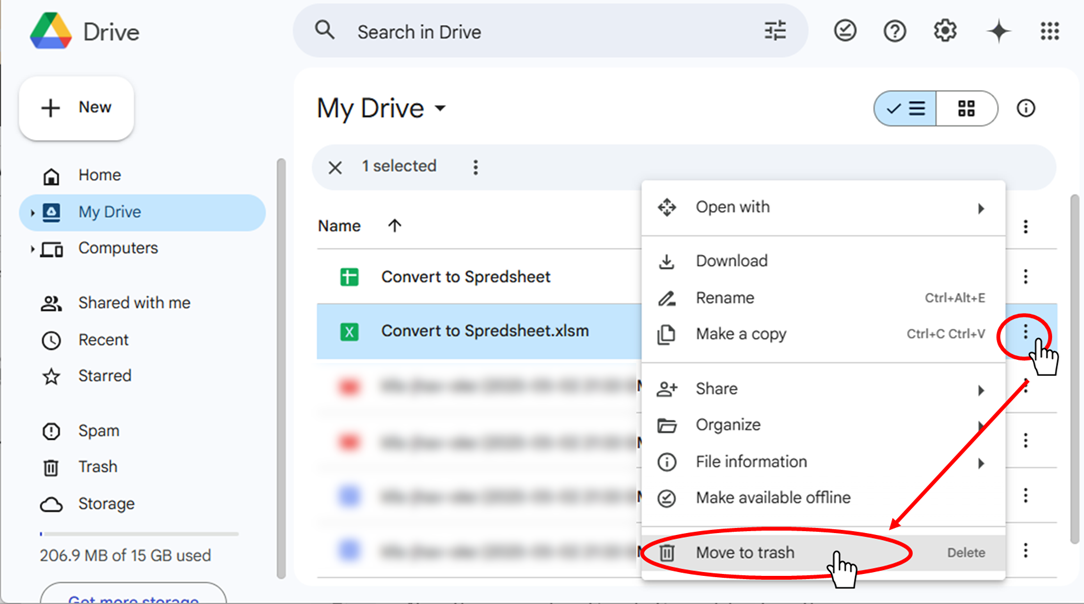
Click the three-dot menu next to the Excel file.
From the menu, select Move to trash.
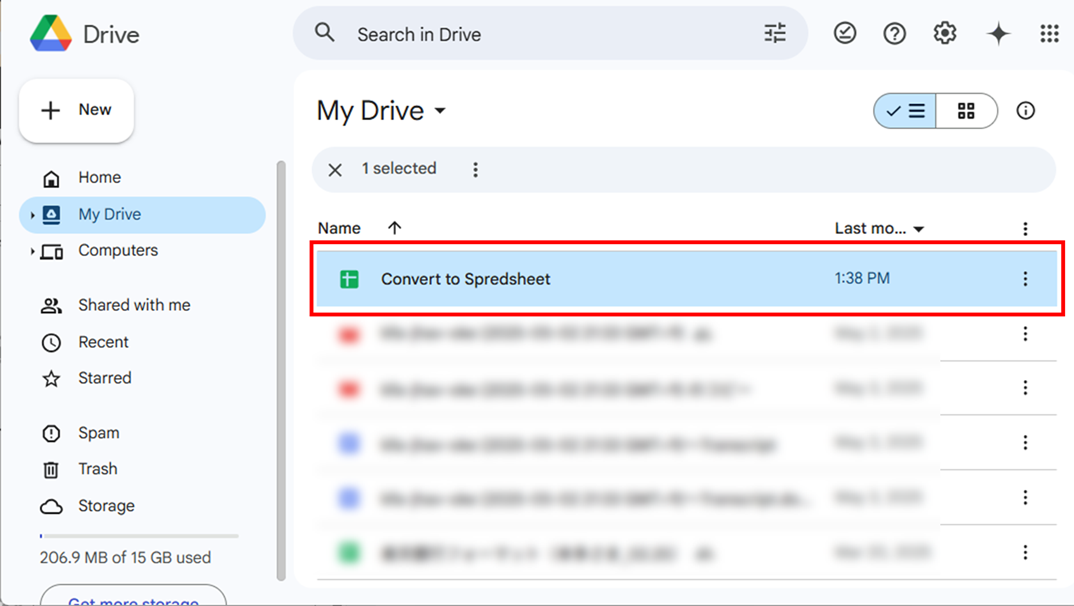
Now, only the Google Sheets version remains.
Summary
As you can see, converting from Excel to Google Sheets is quick and straightforward. However, some formatting or column widths may be altered during the conversion, so you may need to make adjustments afterward.
Both Excel and Google Sheets have their own strengths—choose the one that best fits your needs.
If you want to convert a Google Sheet back to Excel, see our guide:How to Convert Google Sheets to Excel.
I hope this tutorial has been helpful!


Comment