When making a table, if each row is colored alternately and striped, it can make the table very easy to read.
In this issue, we will introduce three ways to do so.
How to use the table function
How to set up tables
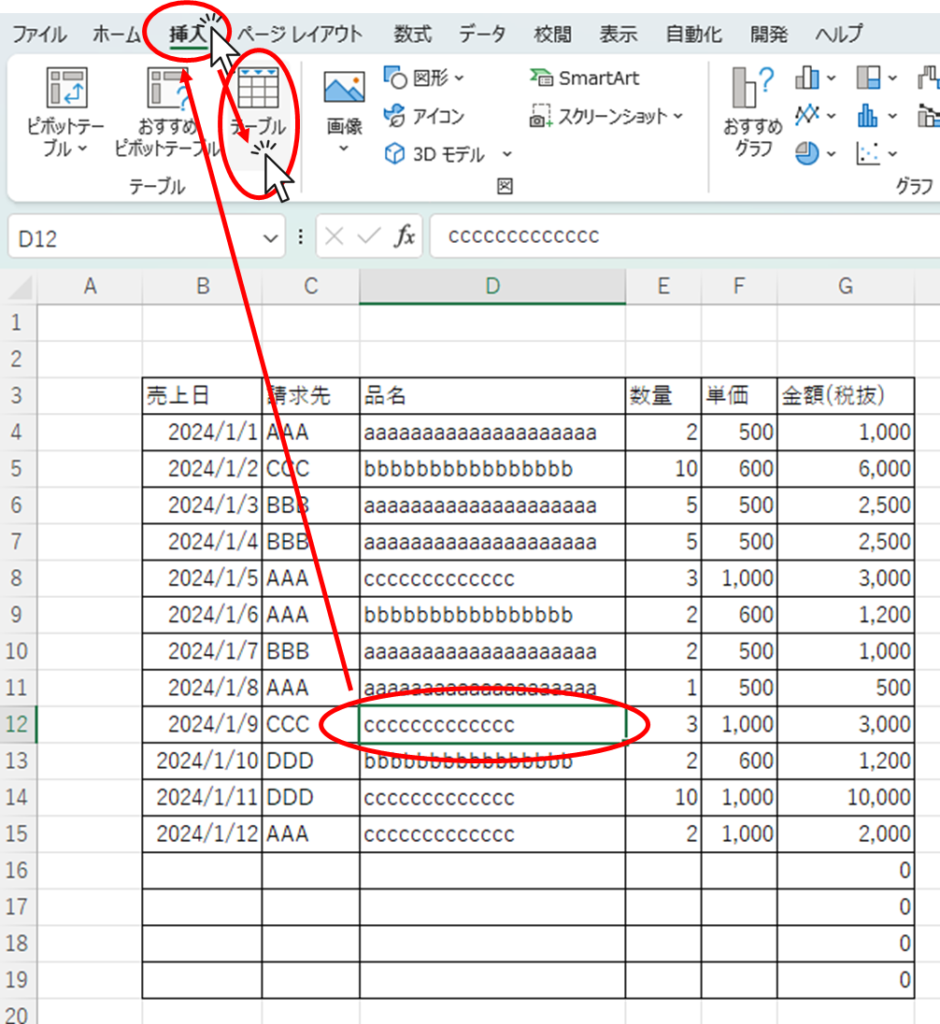
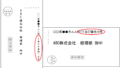
Select the cells anywhere in the table you want to make into a table and press the "Table button" in the "Insert" tab.
Make sure that the area you want to make into a table is properly selected, and click the "OK" button.
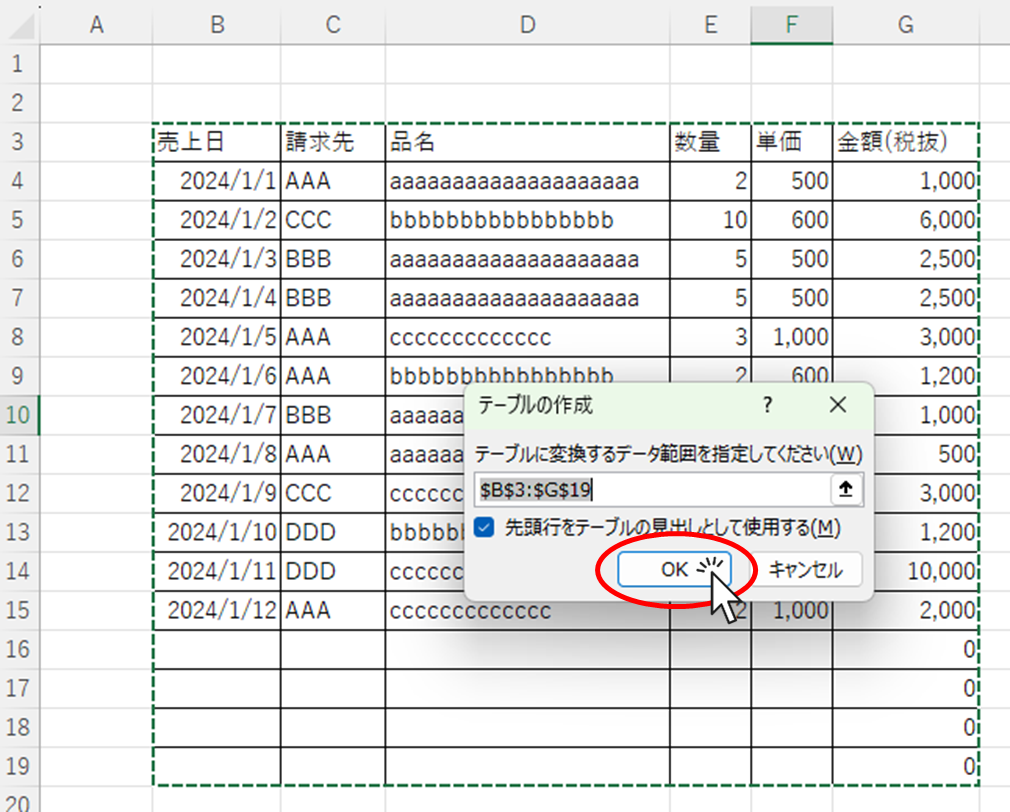
This is all that was needed to make it tableable and striped.
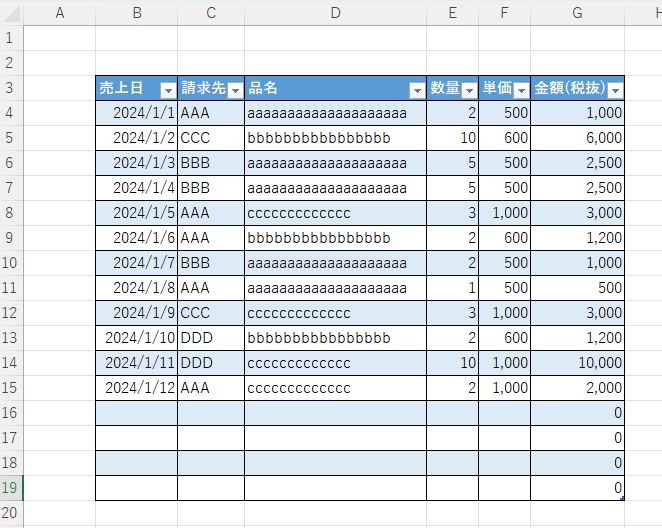
Table Customization
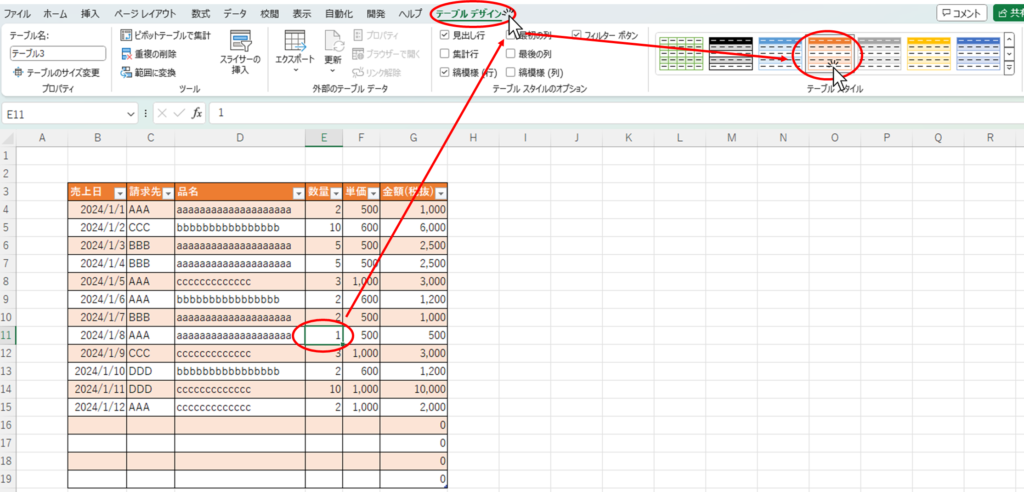
You can also easily change the design by selecting a cell in the table and clicking on the "Table Design" tab and choosing the style you prefer.
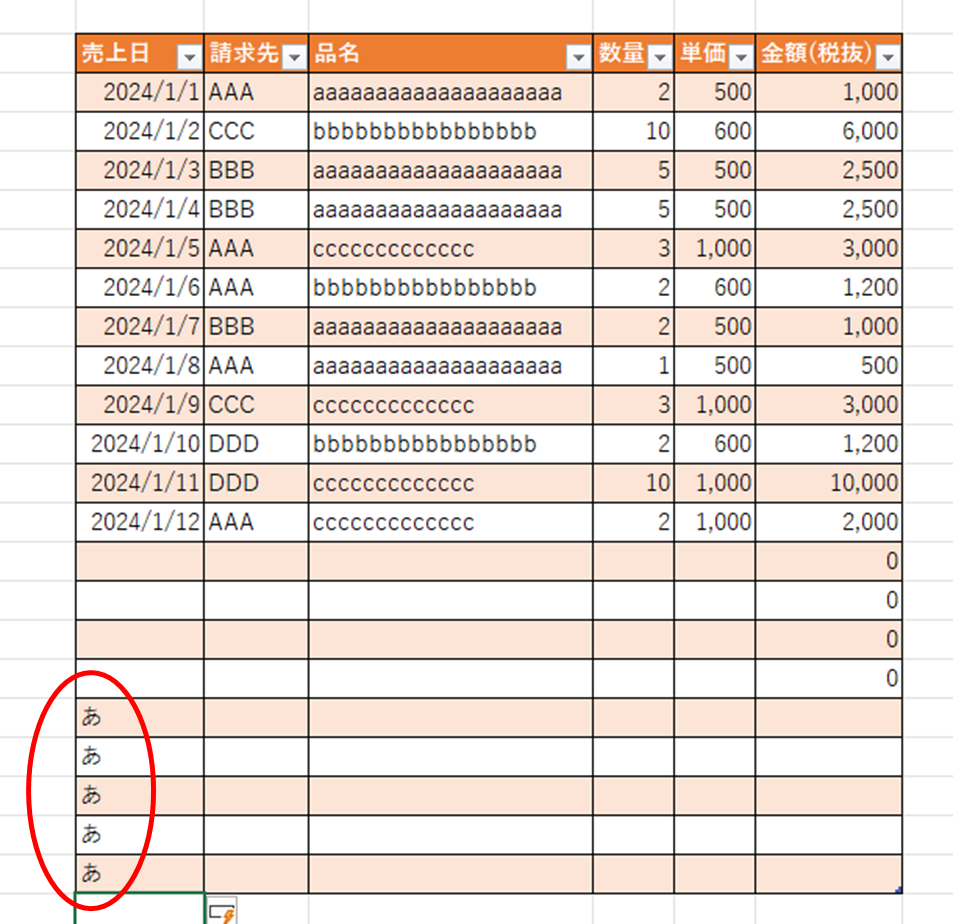
A convenient feature of the table is that if you enter data further down the last row, the table range will automatically expand as well.
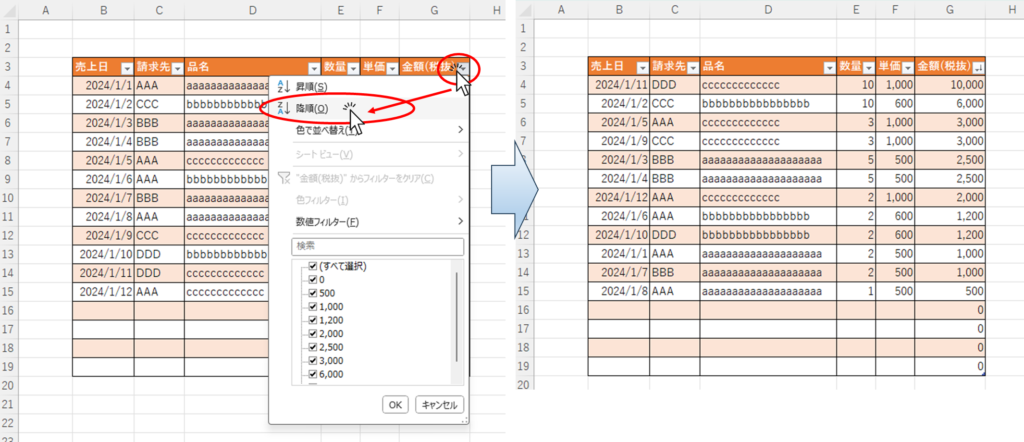
In addition, the stripes are not broken when the data in the table is rearranged.
Finally, the table function can also be deactivated.
Table Release
The table function can be deactivated, but only the formatting can remain. This state is the same as copying the formatting, so adding or deleting rows and rearranging will cause it to collapse.
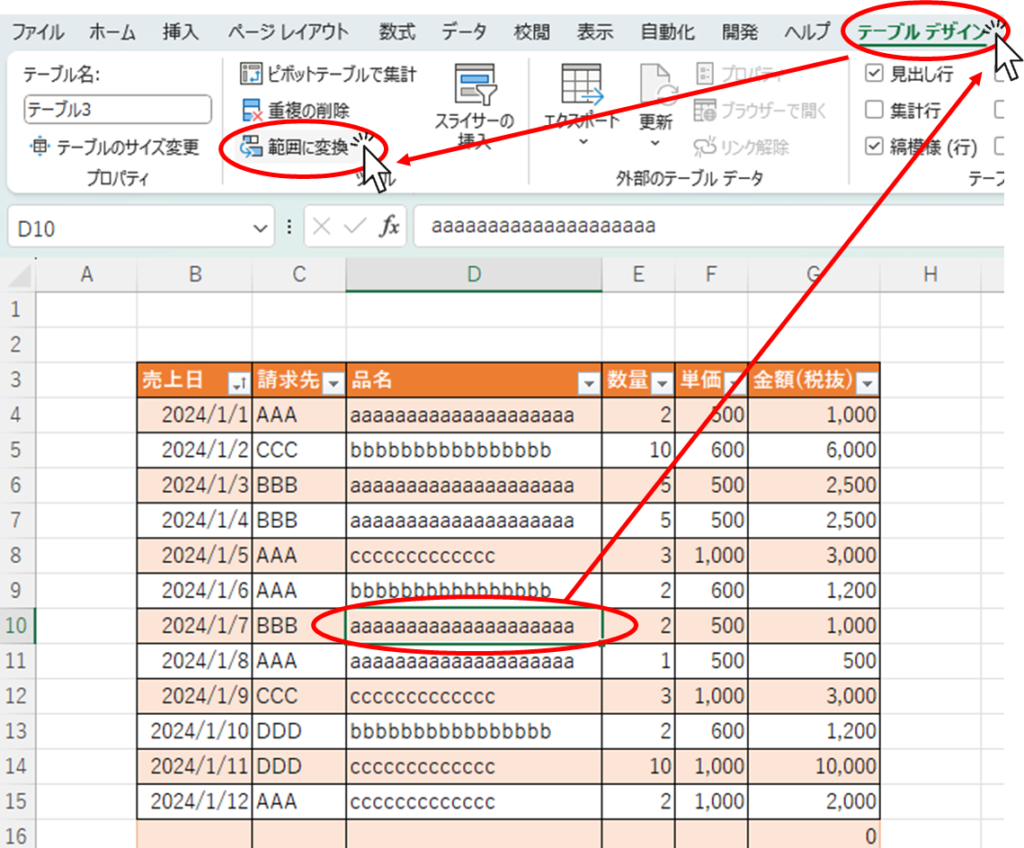
With the cells in the table selected, press the "Convert to Range" button on the "Table Design" tab.
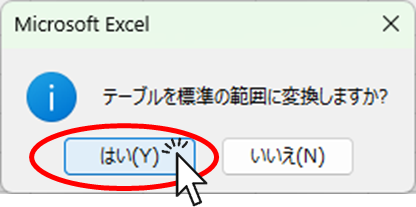
Click "Yes" when you get a message like this.

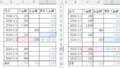
The table is now unlocked, although it does not look any different.
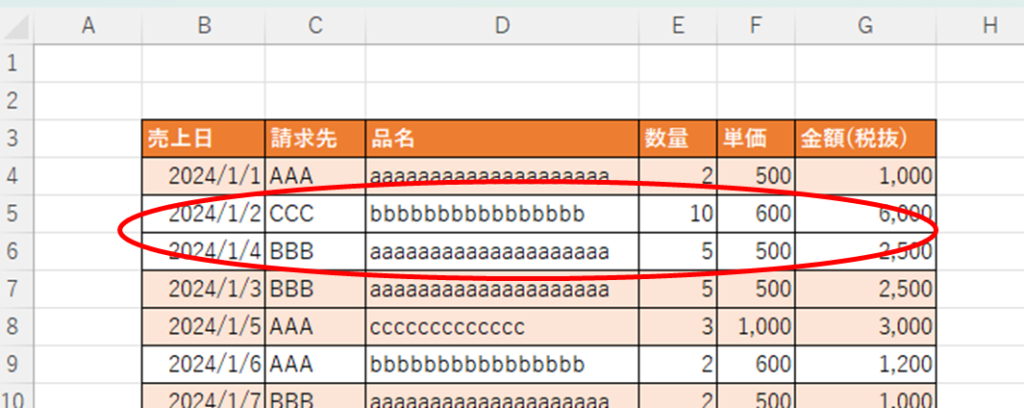
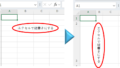
As proof of this, I swapped rows 6 and 7, and the stripes collapsed beautifully.
Advantages of using the table function
- It's very easy, just set up the table
- Automatically adjusts to tasteful colors.
- It automatically extends the range even when you want to extend the line down.
- If you don't like the table function, you can leave only the stripes and deactivate the table function only.
Disadvantages of using the table function
- Knowledge of table creation required
- If you want to enter another item just below the table, it will be incorporated into the table on its own.
- Only one table can be reflected on one sheet.
Use format copy to color
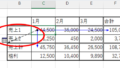
Select the entire first row (cells B4 to G4) of the table data you wish to stripe.
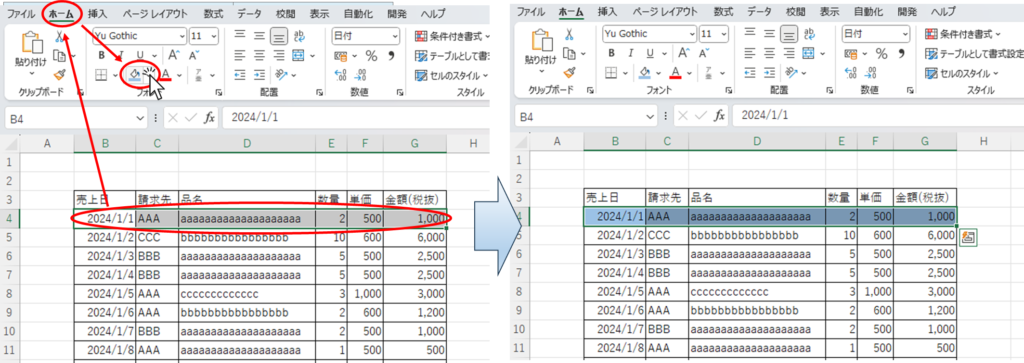
You can color the first row (cells B4 to G4) by clicking on "Fill Color" in the "Home" tab.
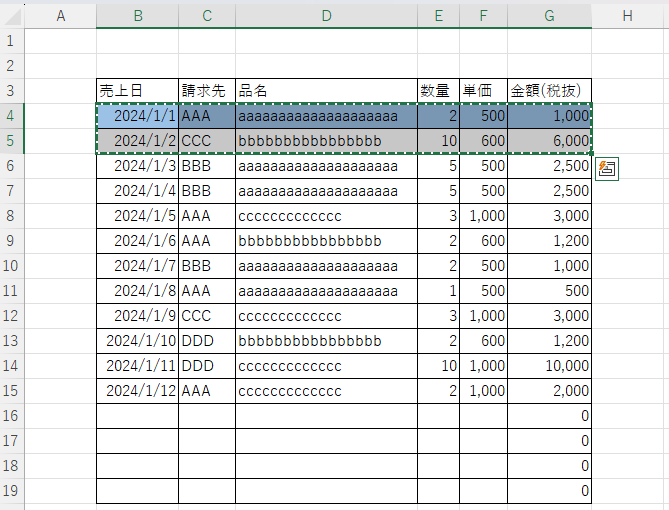
Select and copy the first and second rows of the data rows (cells B4 to G5) together.
With that selected, select the third to last row of data (cells B6 to G19) and right-click within the selection.
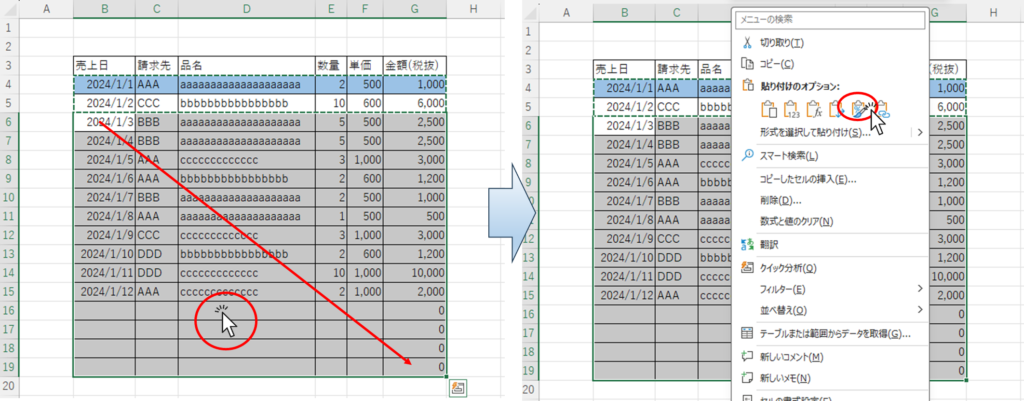
In the menu that appears, click on "Formatting" under "Paste Options.
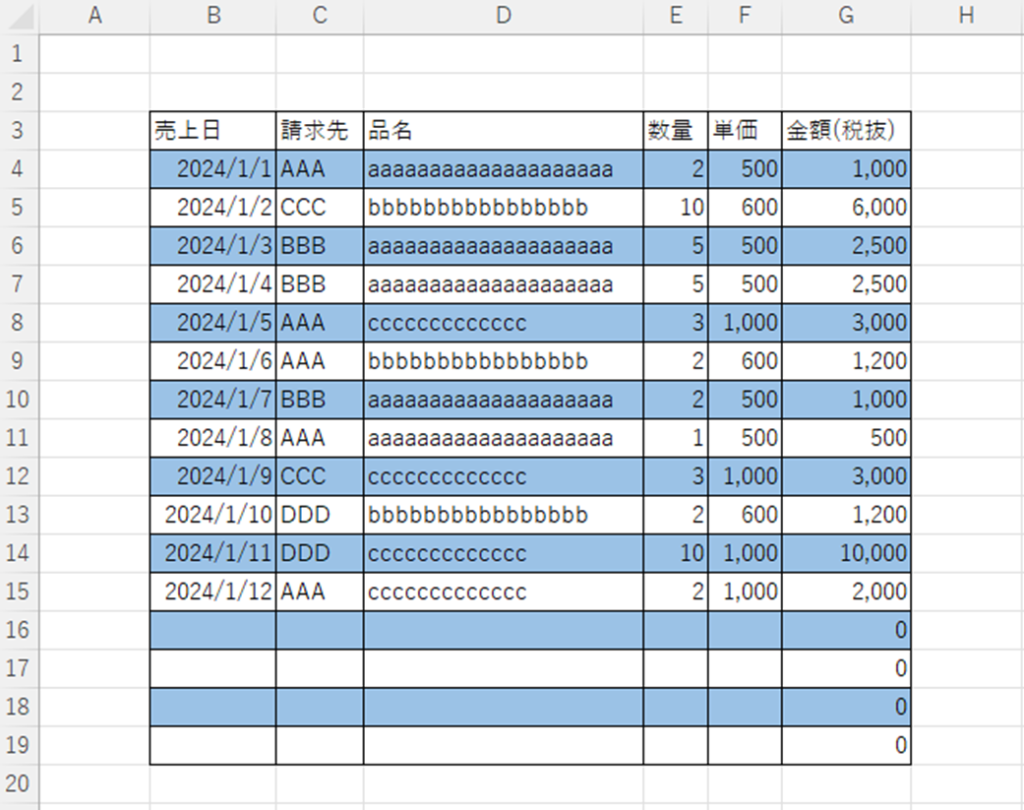
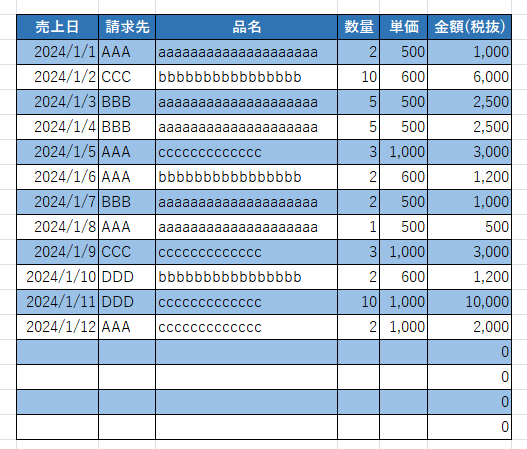
The stripe pattern is now complete.
A slight adjustment to the first line as a heading will make it more readable.
Advantages of using format copy
- If you just want to adjust the look, you can easily create it without considering other influences.
- No knowledge or skills with tables, macros, functions, etc. required.
- Useful for situations where you don't want to use a table or there are circumstances where you can't.
Disadvantages of using format copy
- Rearranging, inserting, or deleting rows causes collapses.
How to use conditional formatting
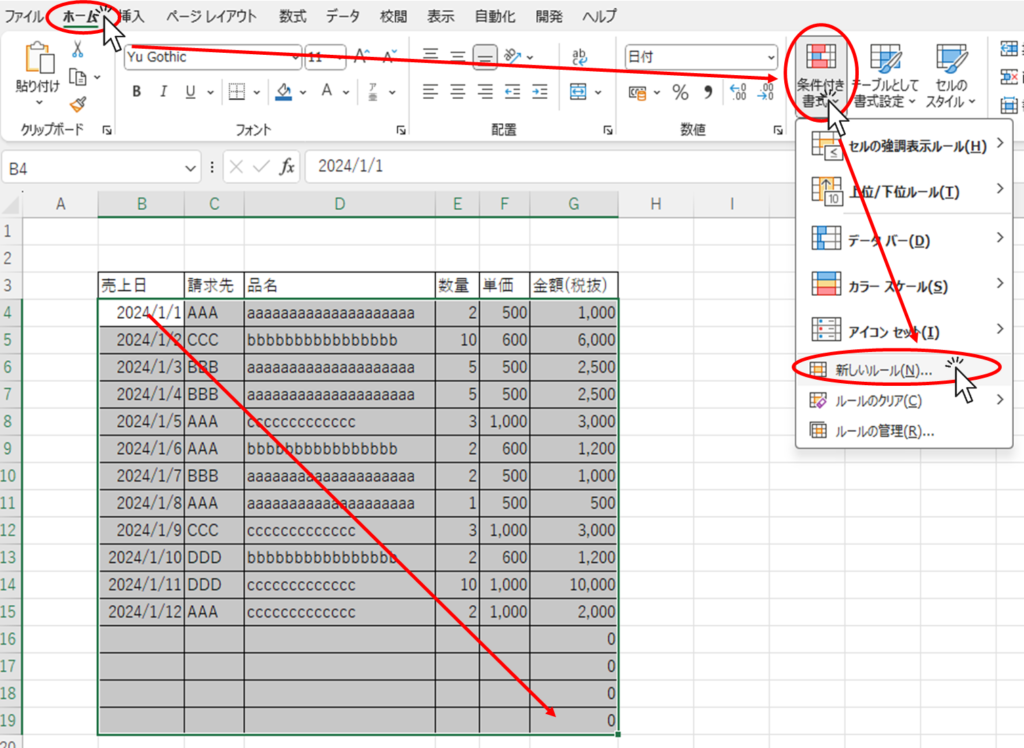
Select the entire data row (cells B4 through G19) and click on the "Home" tab, then "Conditional Formatting", then "New Rule".
When such a menu appears, select "Use formulas to determine which cells to format" and enter the following in the blank space provided in the figure.
=MOD(ROW(),2)=0The "MOD" function consists of MOD(number,divisor) and returns the remainder obtained by dividing the "number" by the "divisor.
ROW()" Represents the number of rows in the corresponding cell.
For example, the first line returns the remainder 1 if the divisor is 2, and the second line returns the remainder 0. In other words, odd-numbered rows return 1 and even-numbered rows return 0.
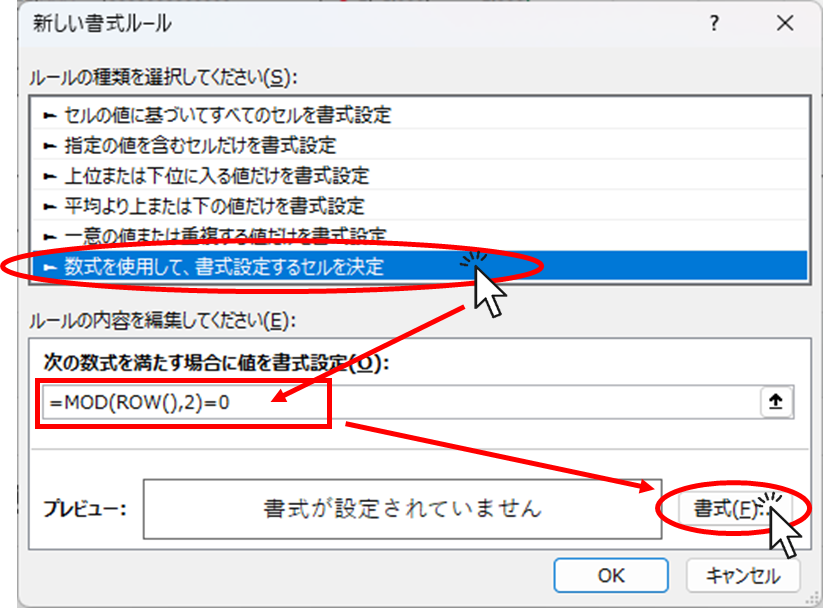
Then press the "Format" button.
You will then see the formatting screen as shown below.
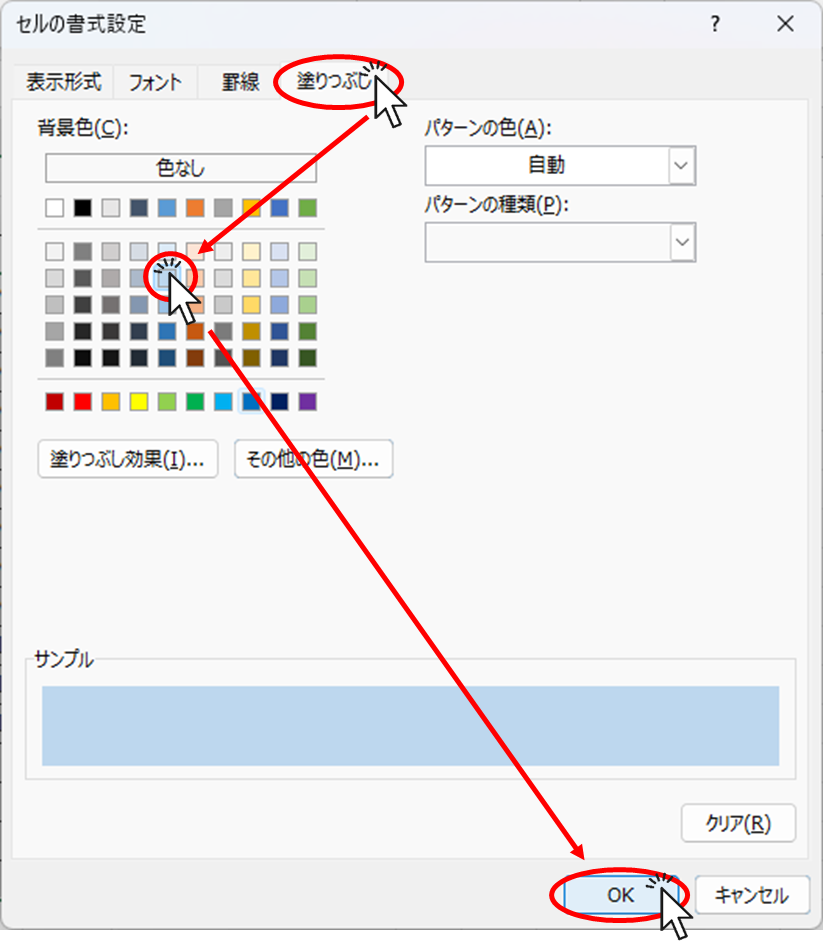
From the "Fill" tab, select the color you prefer and click the "OK" button.
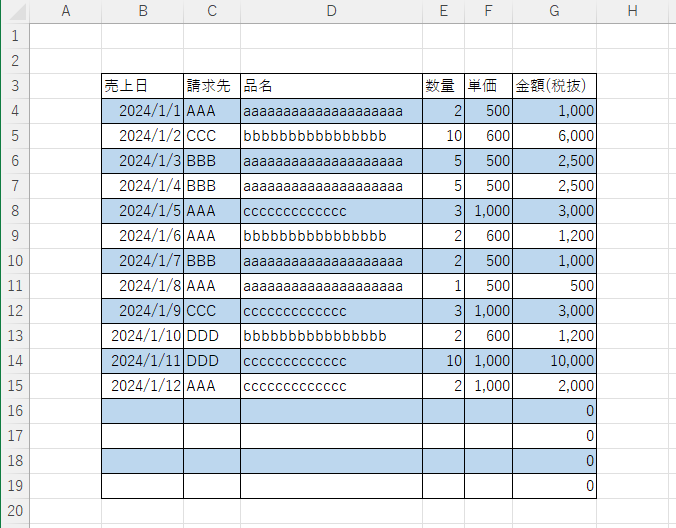
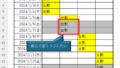
This completes the stripe pattern.
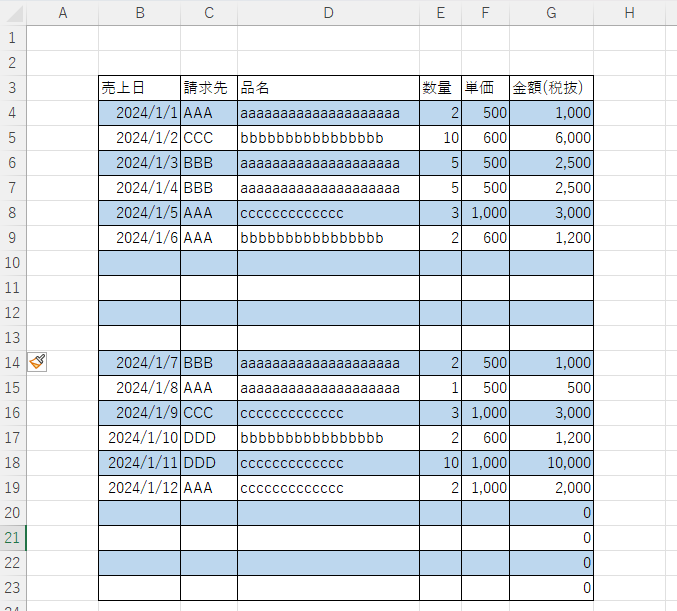
This way, the stripes will not be broken even if you insert, delete, or replace rows as shown above.

However, with this method, when you want to fill a cell, the priority of "conditional formatting" will win out over the priority of "conditional formatting" and you will not be able to color the cell.
Advantages of using conditional formatting
- It does not collapse when adding lines or rearranging.
- Useful for situations where you don't want to use a table or there are circumstances where you can't.
Disadvantages of using conditional formatting
- When I want to color a cell directly, "Conditional Formatting" takes precedence and I cannot color the cell.
- Conditional formatting knowledge and skills required.


Comment