There are times when you really need to remove the protection on a "sheet-protected" Excel file, but you don't know the password because the person in charge of applying the protection has already left the company or lost the memo.

In such cases, should you just give up?
No. Sheet protection can be forcibly removed by following the procedure I am about to describe.
In this issue, we will show you how to force the removal of the sheet protection.
For more information on sheet protection, please contactHow to use the sheet protection function.article for more information.
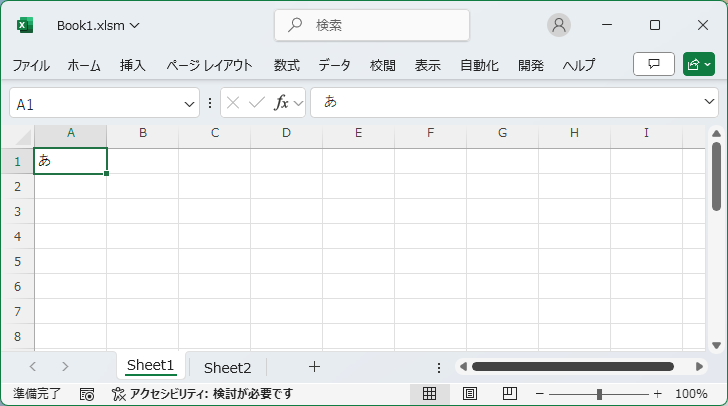
Check to see if the sheet is protected.
There are several types of sheet protection, such as "cells can be selected but no values can be entered" and "cells cannot be selected".
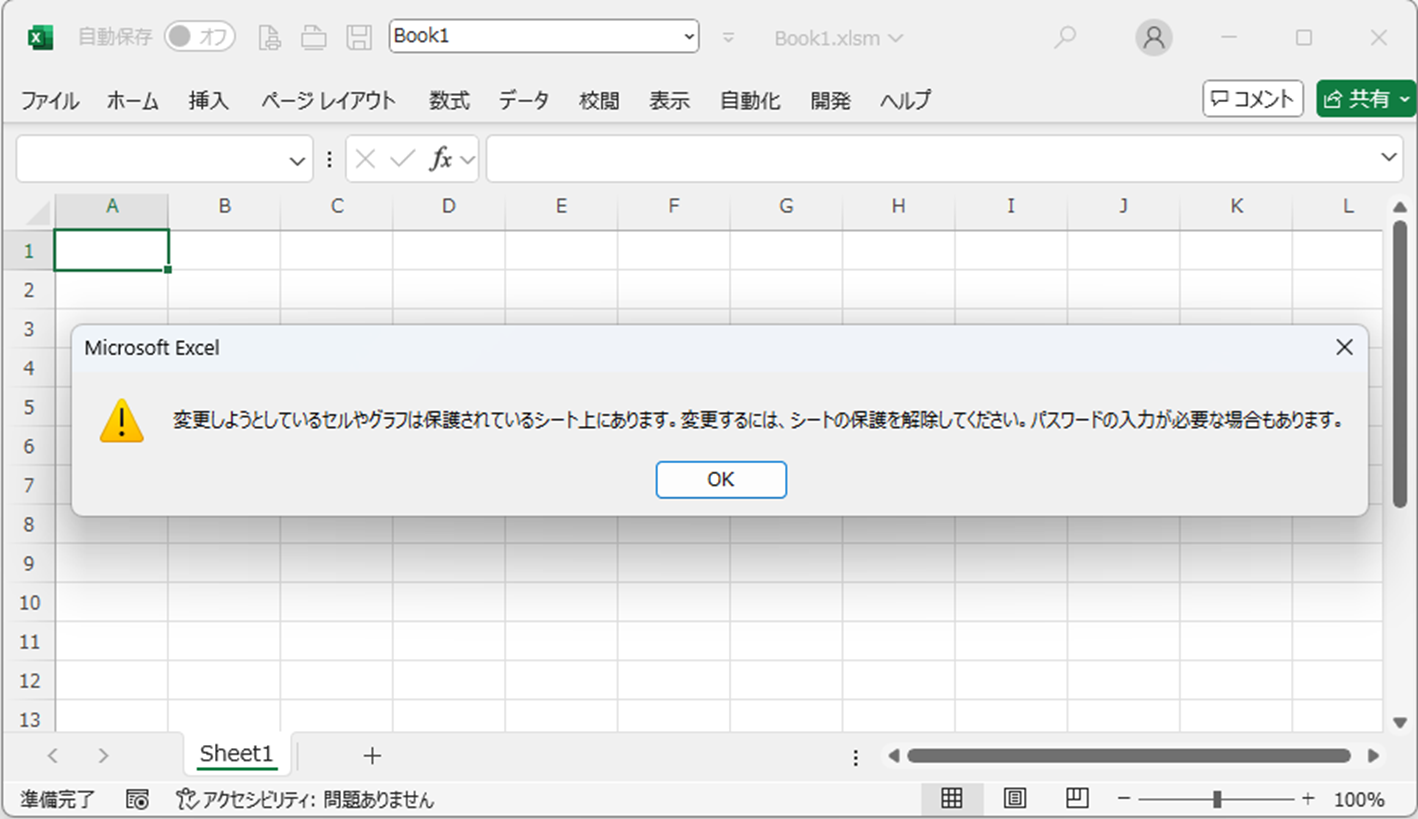
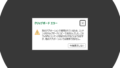
When I try to perform some operation, I get an error message like the one shown below.

The error message confirms the statement "Please remove sheet protection.
This is the state in which the sheet is protected.
Check sheet-protected excel book extensions
If you look at a sheet-protected book, you will see that it has extensions such as ".xlsx", ".xlsm", and ".xls".
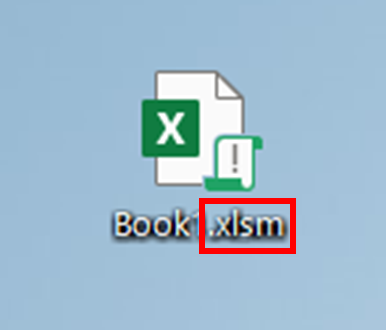
No extensions are shown.in the case ofHow to display file extensions [Windows 11].to view the extension before proceeding to the next step.
You will need to change this extension and later revert it, so make sure to remember it or write it down so you won't forget.
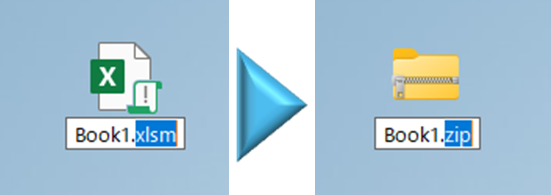
Change the extension of sheet-protected Excel books to ".zip".
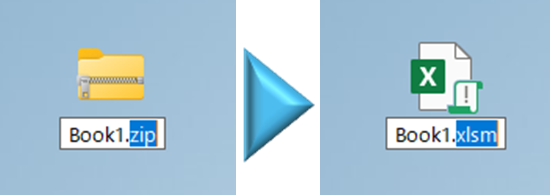
Next, change the file extension to ".zip".
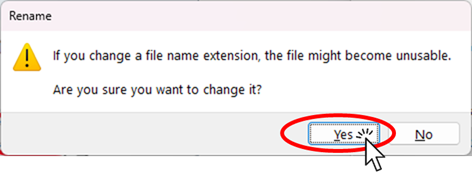
You will then see a message like the one below, so click "Yes".
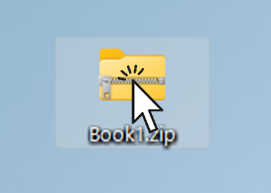
Then the icon will change as shown in the figure below.
Finding data on a sheet
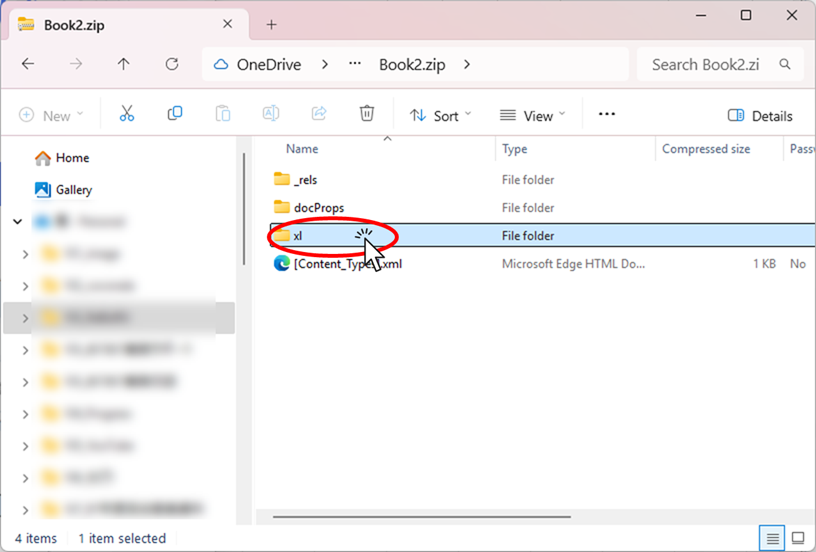
Open the "xl" folder in the opened folder.
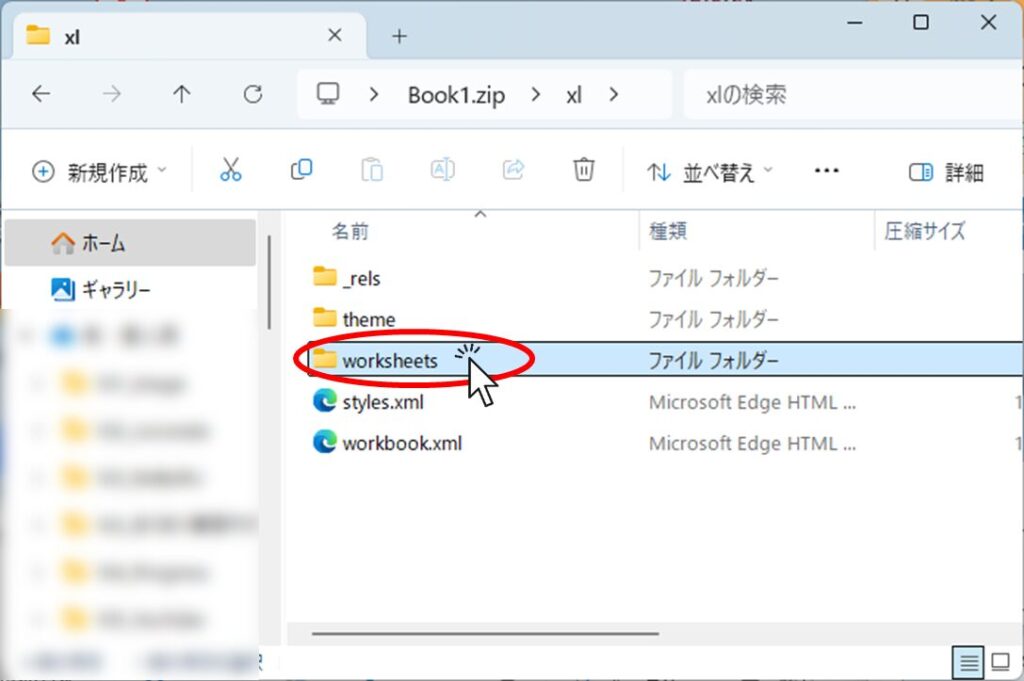
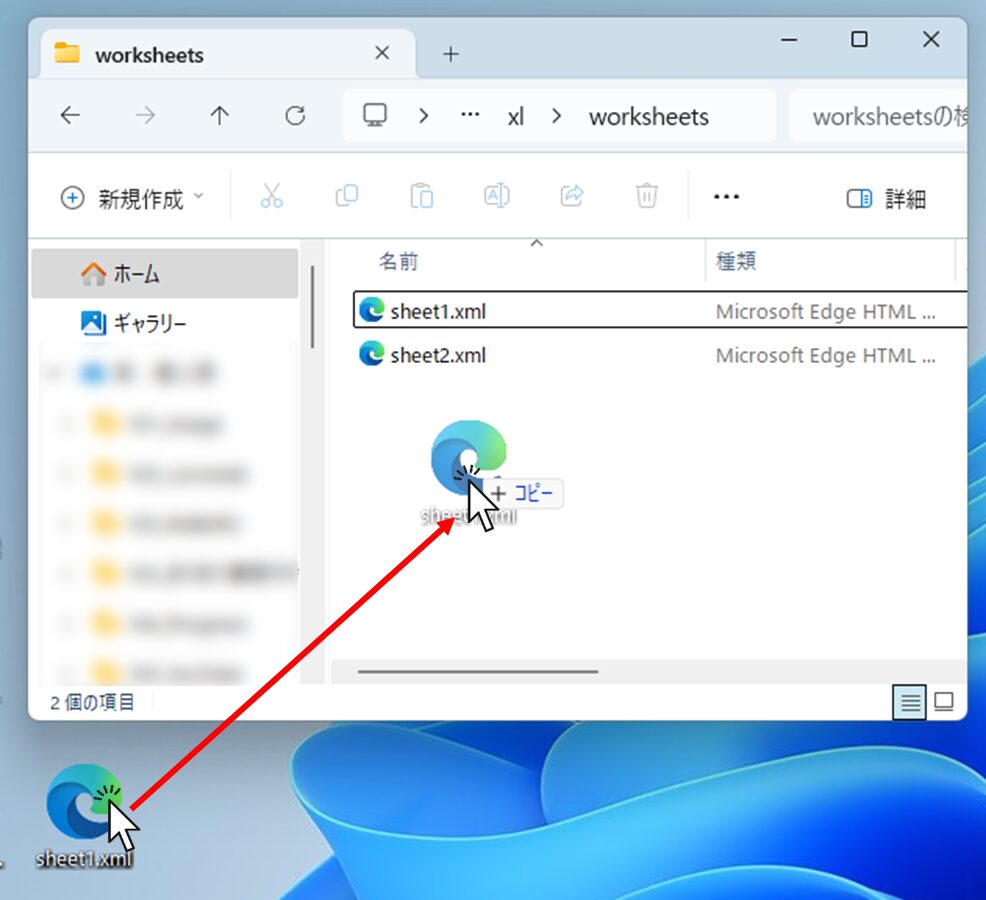
Next, open the "worksheets" folder in the "xl" folder.
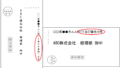
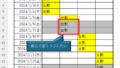
Then all sheets are displayed as icons, so copy the corresponding sheet by dragging it or by other means. In this example, "sheet1" sheet is protected, so "sheet1.xml" is copied.
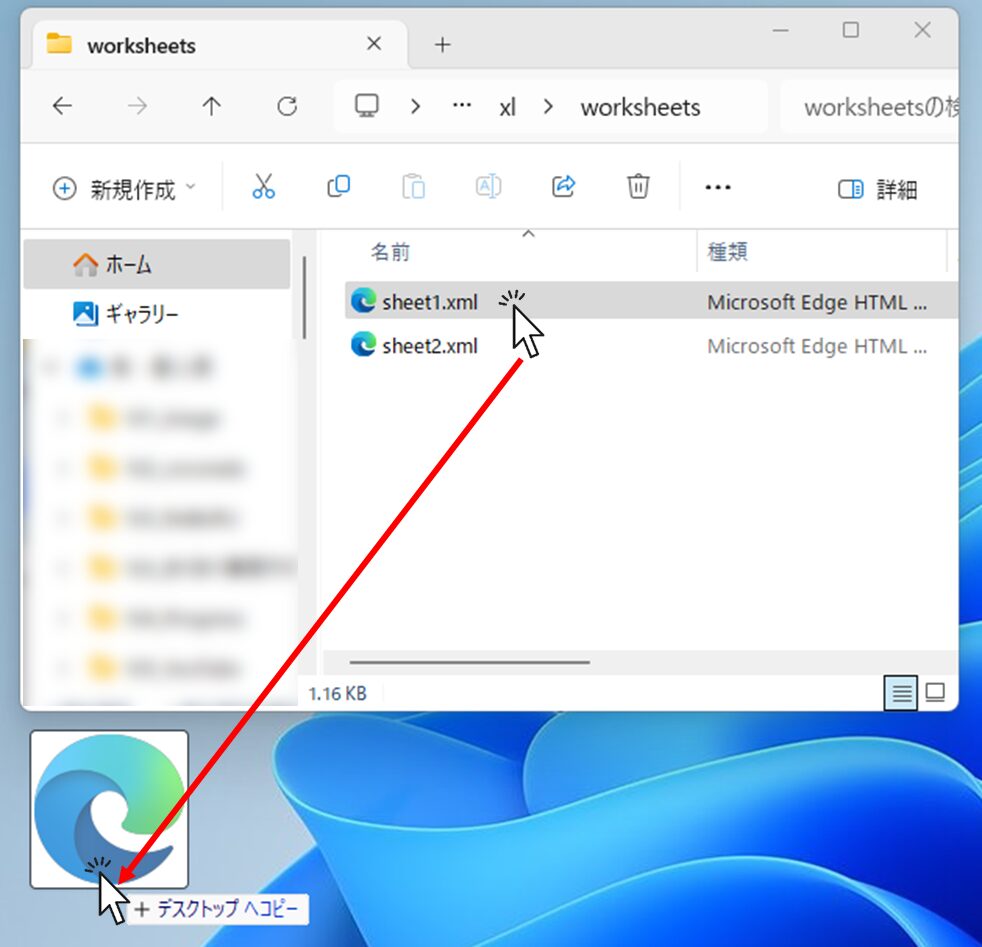
The destination location is copied to the desktop in the figure above, but it can be anywhere if you can keep track.
Next, "right-click" on the copied file and click "Edit in Notepad" in the menu that appears.
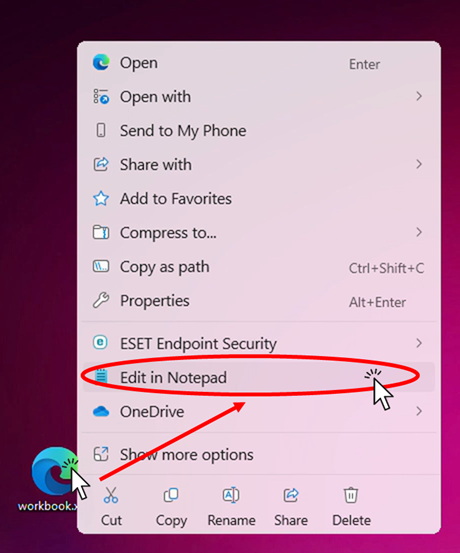
If you do not see this "Edit in Notepad", you can get the same result by selecting "Notepad" from "Open from Program".
If that is not shown either, you can also open it by opening Notepad first and dragging this file to the Notepad screen.
Then a notepad like this one opens.
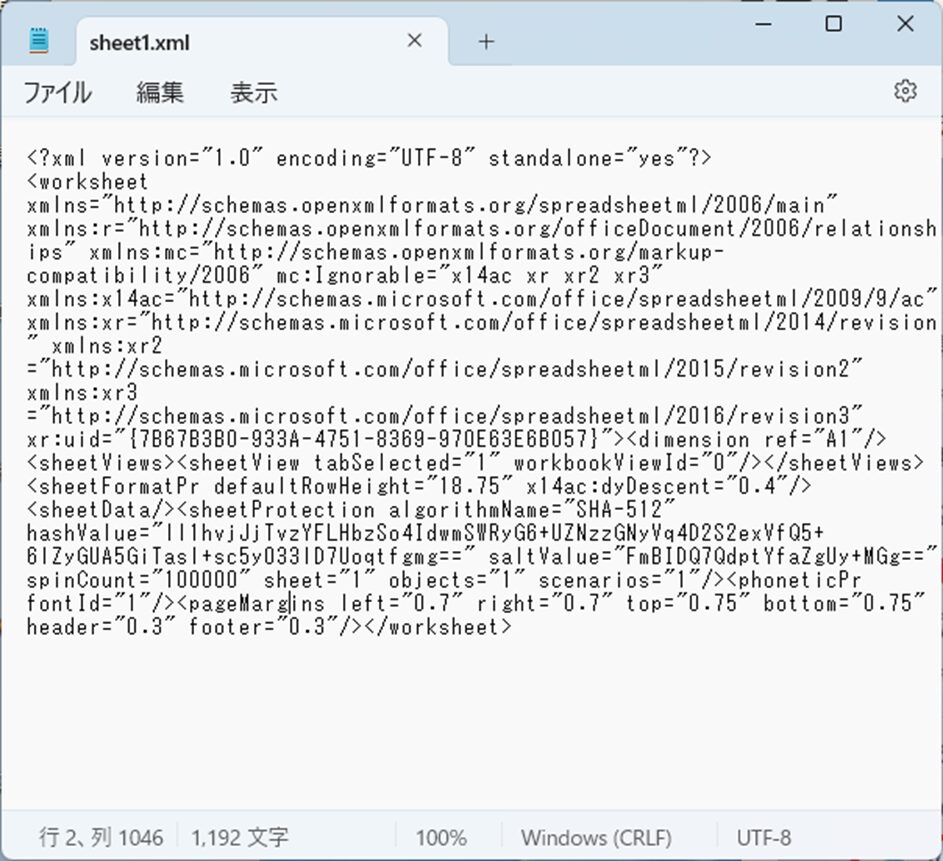
Find the part of this file that begins with the word "sheetProtection".
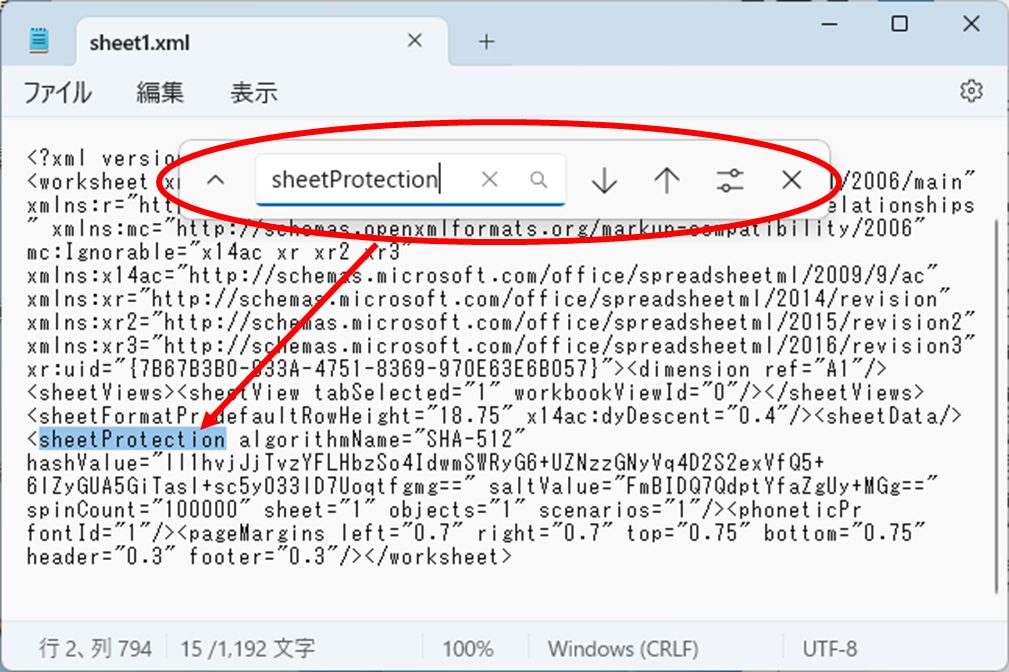
Press the "Ctrl" and "F" buttons at the same time to search.

You can easily find it by typing "sheetProtection" in the search window that appears.
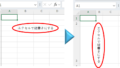
To extract the part that starts with<sheetProtectionand ends with/>Select the part ending with "*".
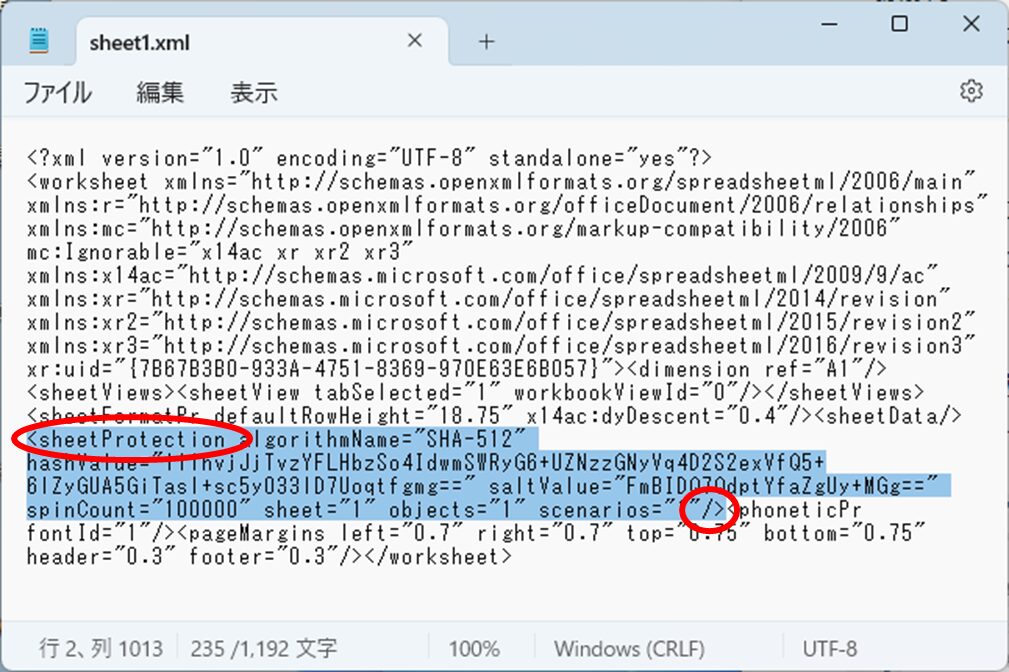
Delete the selected area with the "Delete" key.

Once the "sheetProtection" tag has been removed, save and close Notepad.
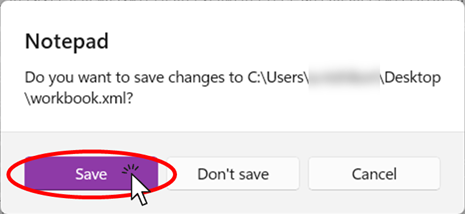
Copy" the saved "xml" file by dragging it to the folder where it originally existed.
When you drag the file, you will see a message like the one below, click on "Copy and Replace.

When you have replaced the files, close the zip file folder.
Restore the ".zip" file extension to its original extension
When file replacement is complete, restore the file extension.
.xlsx", ".xlsm", etc.
At this time, be sure to revert to the extension you first checked. If this is not correct, Excel will not open correctly.
Ensure that the sheet protection is removed.
Once you have changed the extension, open the Excel file.
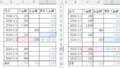
If the same message does not appear after performing the operation for which the error message was displayed earlier, such as entering a sheet, the sheet protection removal is complete.

Comment