Item.free inputas much as possible instead of doingpulldownBy taking the method of choosing fromIt also saves time and effort in inputting data.Shih,Prevent notation distortion, ,Increase data certaintyIt can also be used for
Preventing distortion is a very important issue when creating data in Excel, as it ensures that the data is recognized as the same when it is compiled.
In this article, we will explain the pull-down input method.
The way to link two sets of pull-downs isLinking two pull-downs (drop-downs) without macros (for linking only one set) Excel (Excel)-ist (used after a noun indicating someone's occupation, pursuits, disposition, etc.)Linking two pull-downs (drop-downs) without macros (when reflected in multiple rows) Excel (Excel)See also.
Create a "master" sheet
This is not required, but myRecommendationIt is.
When using pull-downs, you can of course refer to them in the same sheet, but referring to them from the "master" sheet makes it easier to see where you are referring to them later, and allows you to add or remove reference items.Easy to editIt will be.
If you already have a sheet that you are operating in the master, of course you can use it there. If not, create a new sheet.
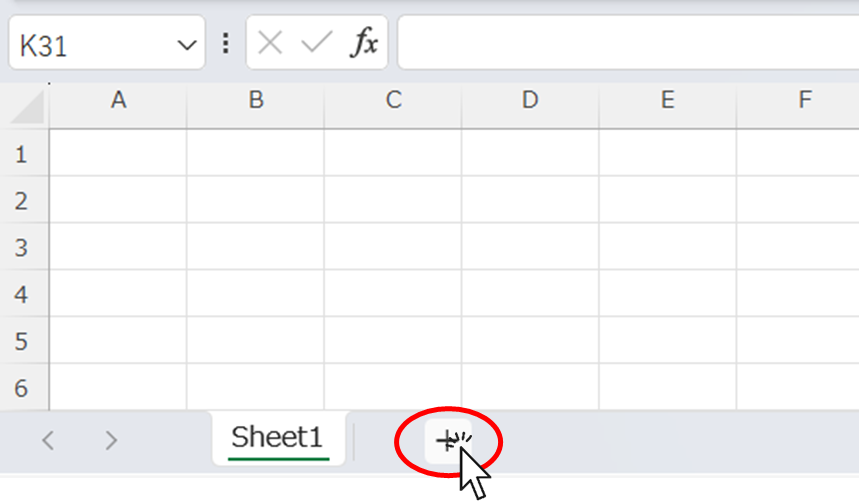
If there are multiple sheets, click the "+" mark to the right of the last sheet.
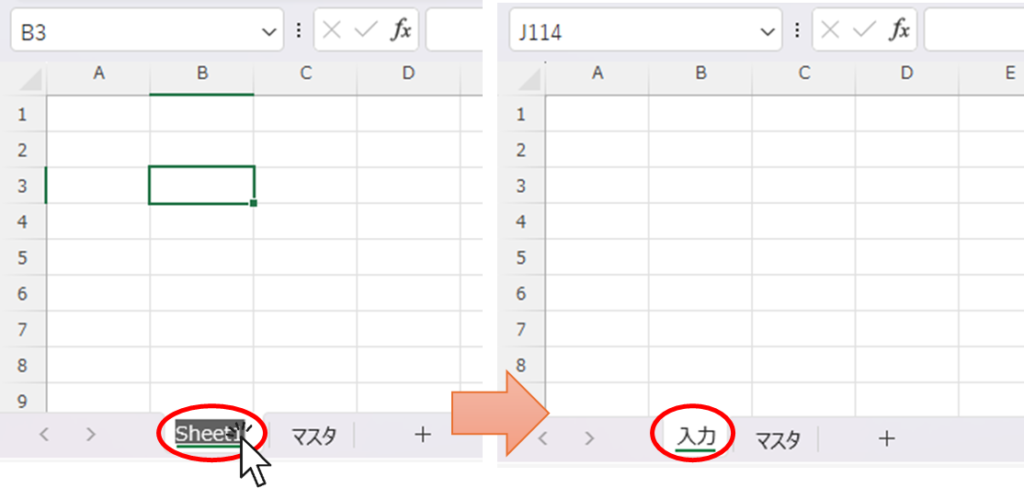
Double-click on the sheet name portion of the newly created sheet.
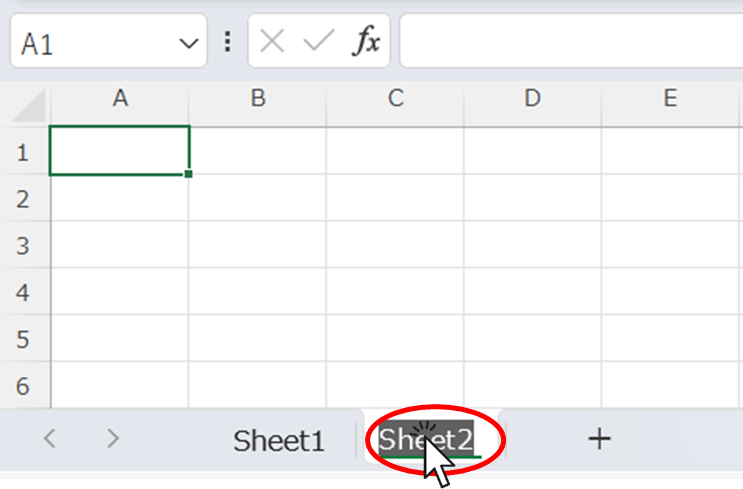
Change the sheet name to "Master" and press the Enter key.

The sheet for the master is now complete.
Making Choices
In this article, we will create an input form for a business partner to create a household account.
Enter the choices on the "master" sheet.
Fill in the required fields
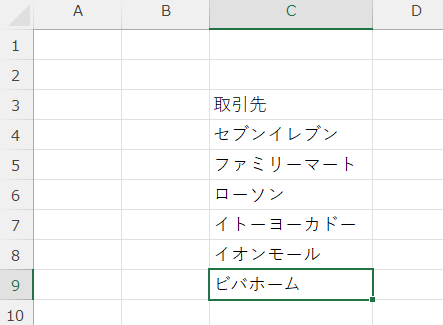
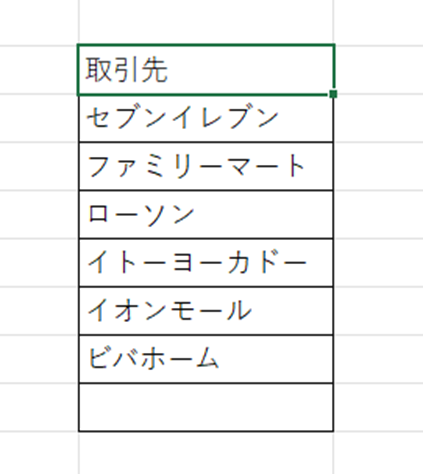
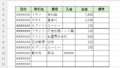
In cell "C3," enter "trading partner."
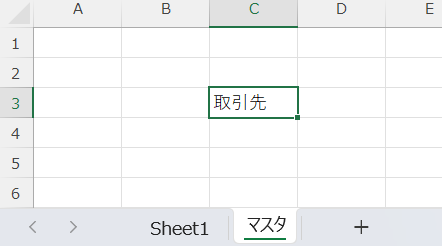
Below that, you will enter your choices.
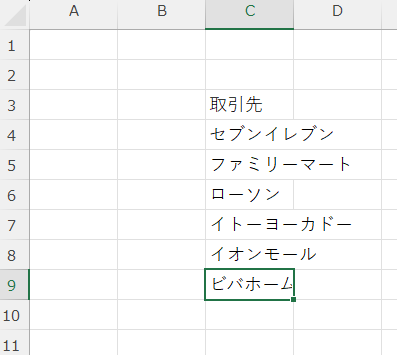
You can add or rearrange these options as needed, so at this stage, you can arrange them as you see fit.
put on coquettish airs
The more presentable the file is, the less likely it is that references will be corrupted when rearranged or added/deleted later.
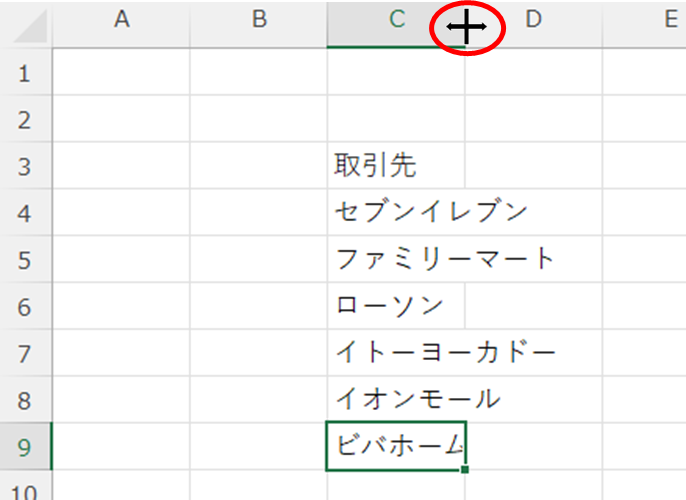
Move the mouse cursor between columns C and D and double-click where it changes to the shape shown in the image.
The cell width is then automatically adjusted so that all text fits within the cell range, as shown here.
Next, select a range from cell "C3" to cell "C10".
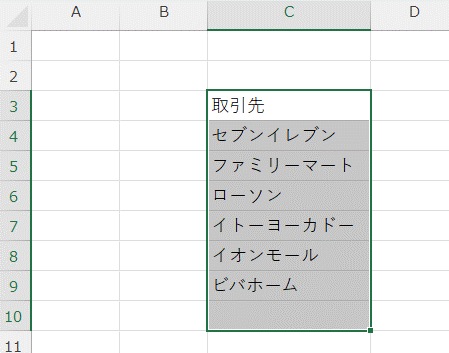
The data is only contained up to the "C9" cell, but the key point is to dare to specify one line wider.
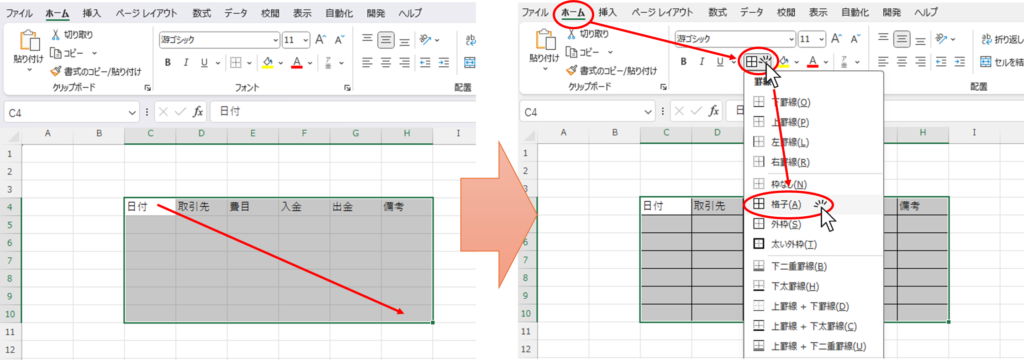
Next, ruled lines are drawn.
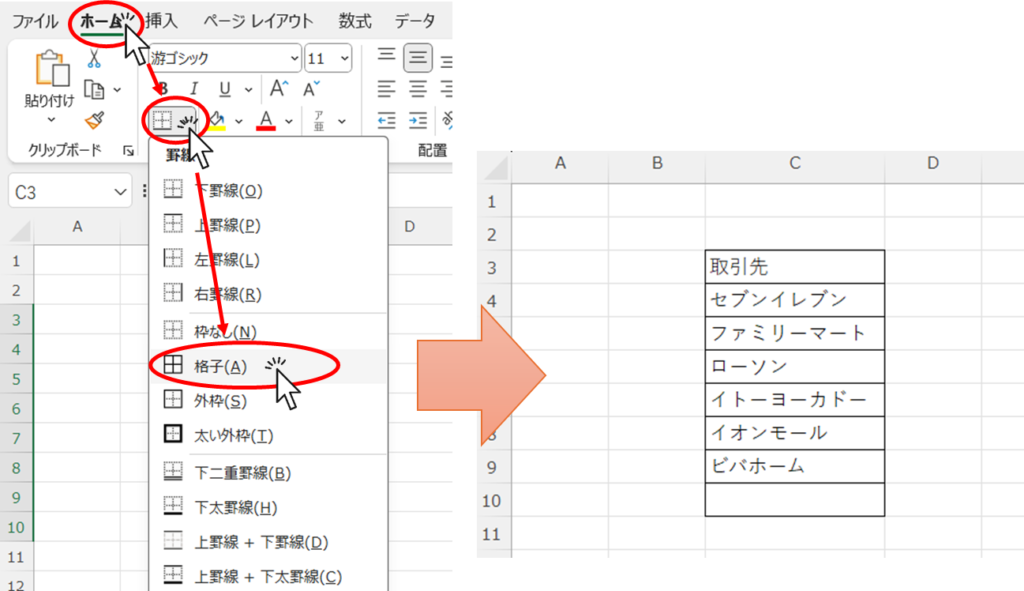
From the "Home" tab, click on the "Ruled Lines" button and then on "Lattice". You now have a ruled line as shown here. You can see that there is one blank line at the end.
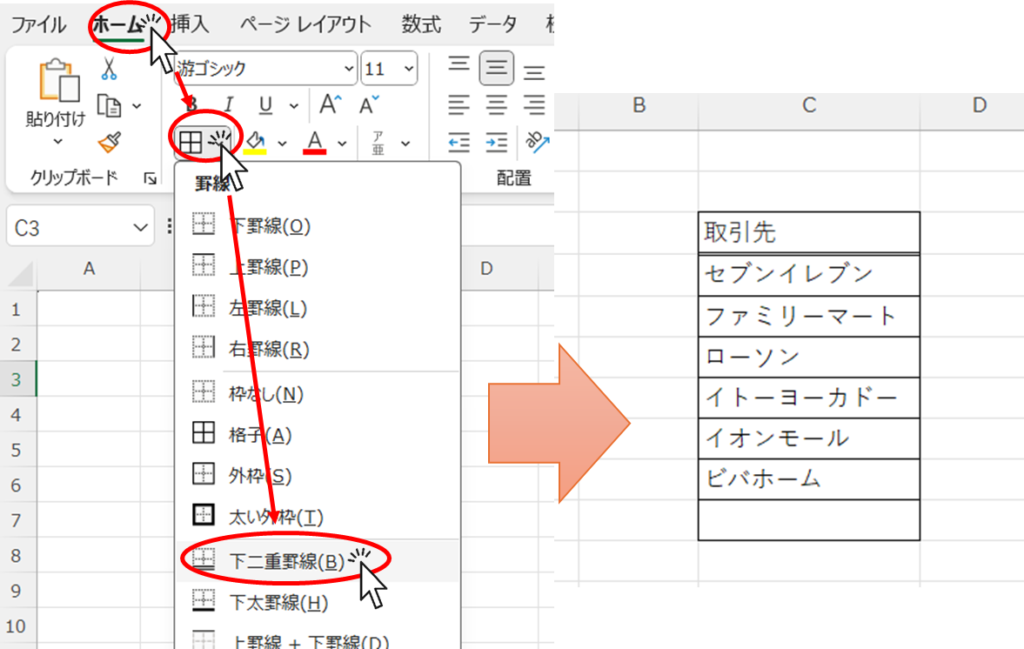
Next, select the cell in the first row.
Place a double line under the first line so that the item name is easily recognizable.
Create input fields
Change the name of the sheet that creates the input column to something easy to understand. In this case, we have chosen "Input".
Set the input items. In this case, the image is that of a household account book, so the following is used.
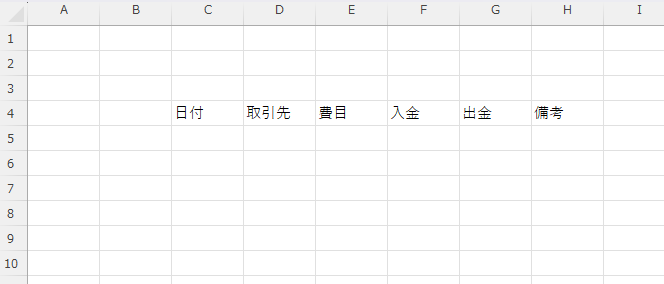
To make it easy to see how far you are setting, draw a ruled line around the area you want to set.
Select the area you wish to set → Select "Lattice" from the "Ruled lines" button on the "Home" tab.
Next, we want to be able to select the data of the trading partner, so we select the input range of the trading partner.
This time, select cells "D5" through "D10".
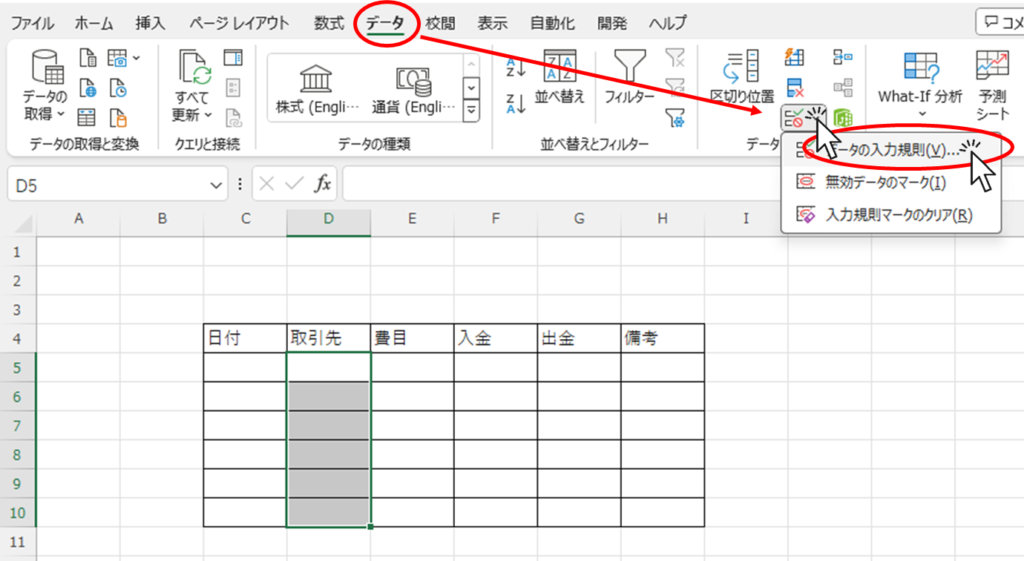
Once you have selected a range, click on the "Data" tab, then the "Entry Rules" button.
When such a menu appears, change the "Input Value Type" from "All Values" to "List".
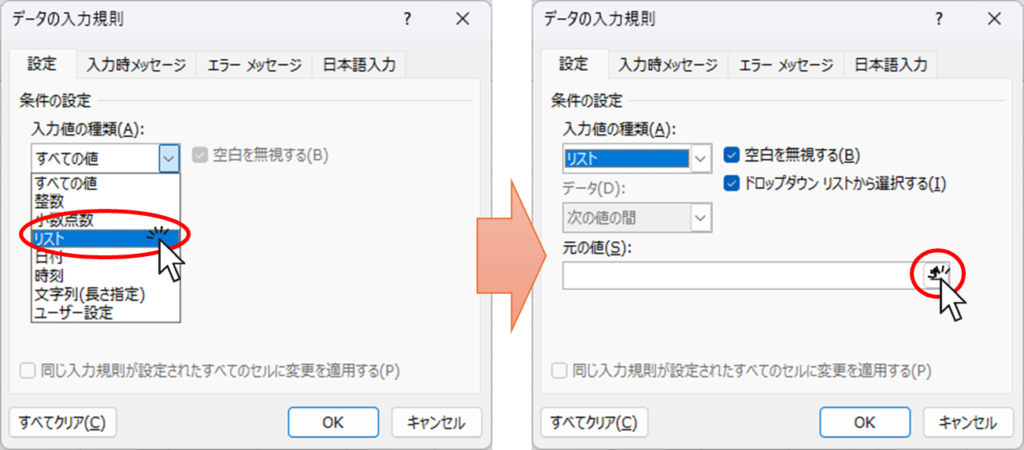
Then the input fields will change, and click the button to the right of "Original Value.
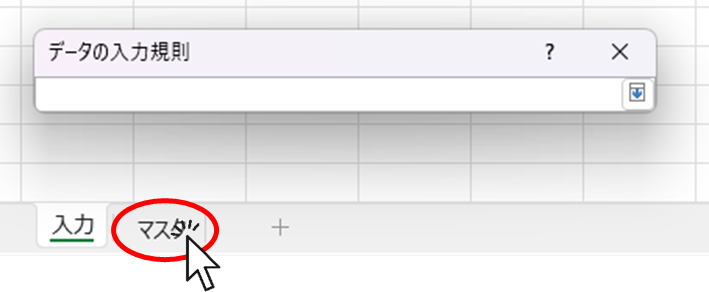
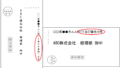
A screen will appear to insert references to the original values, so select the "Master" sheet.
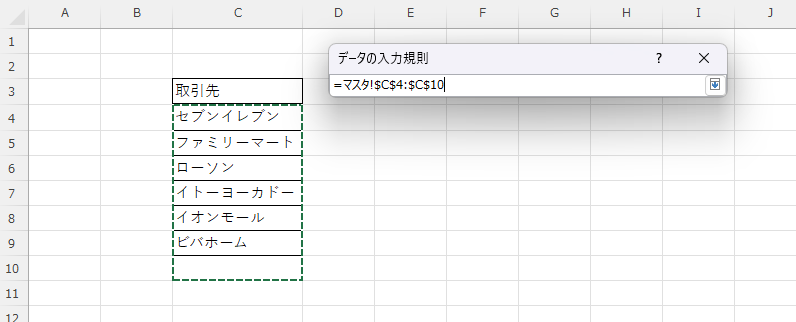
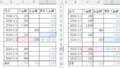
Once you are on the "Master" sheet, select the last line of the choices you just made, from the double line down to the last line with the ruled line. In this example, it is from cell "C4" to cell "C10". It should be easy to see how far to select because of the ruled line.
When you have finished making your selection, press the "Enter" key.
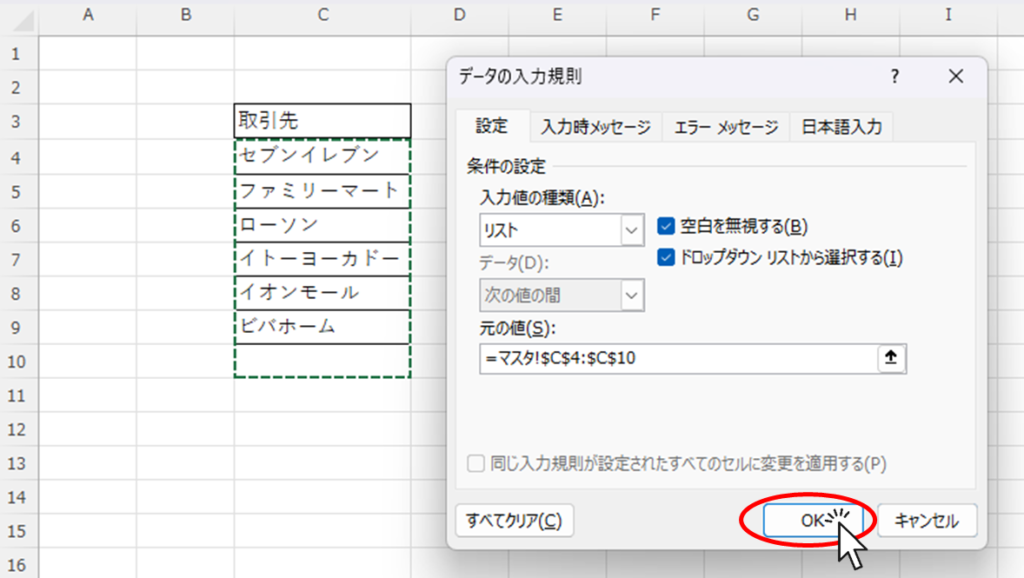
Make sure you have made the correct selection and press the "OK" button.
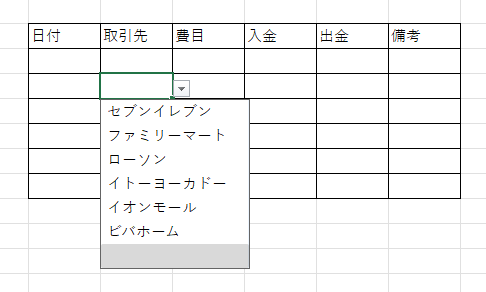
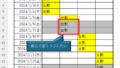
You can now select a trading partner in the pull-down menu.
We will explain detailed setup and operation methods in the next and subsequent articles.
interpoint (interword separation)Allow users to enter items that are not in the options
Add rows to the "Input" sheet
Add or delete choices on the "Master" sheet.


Comment