Learn how to set Excel to read-only or set a password when opening.
Display the General Options screen
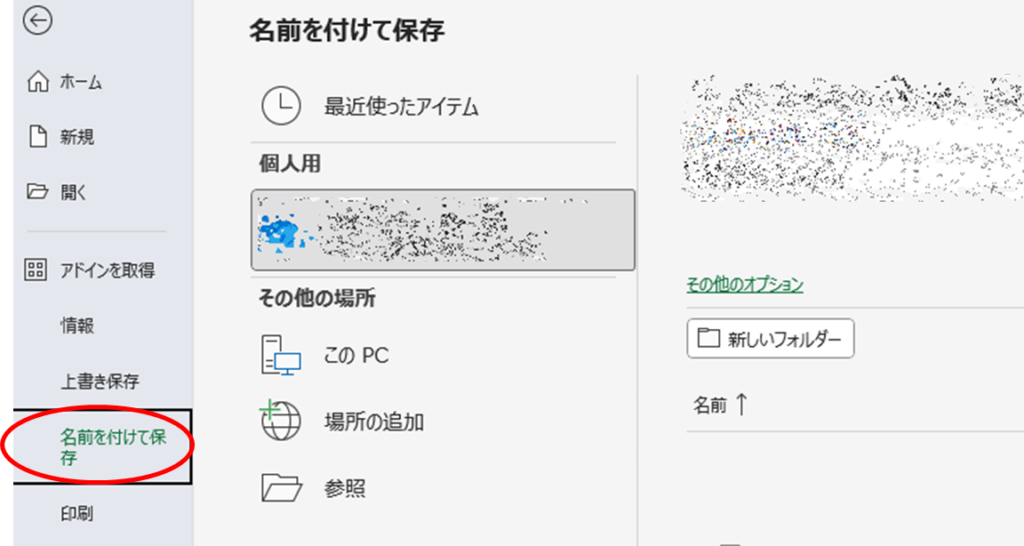
First, display the "Save As" screen.
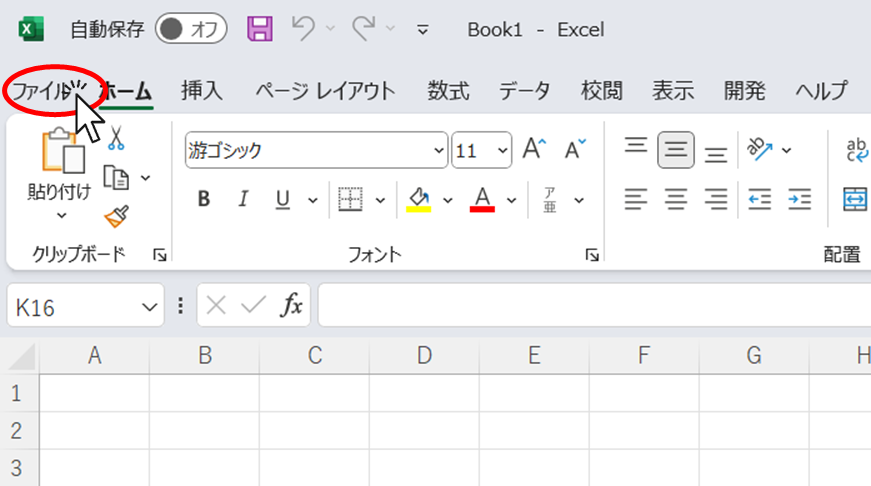
Click on the "File" tab in the Excel screen
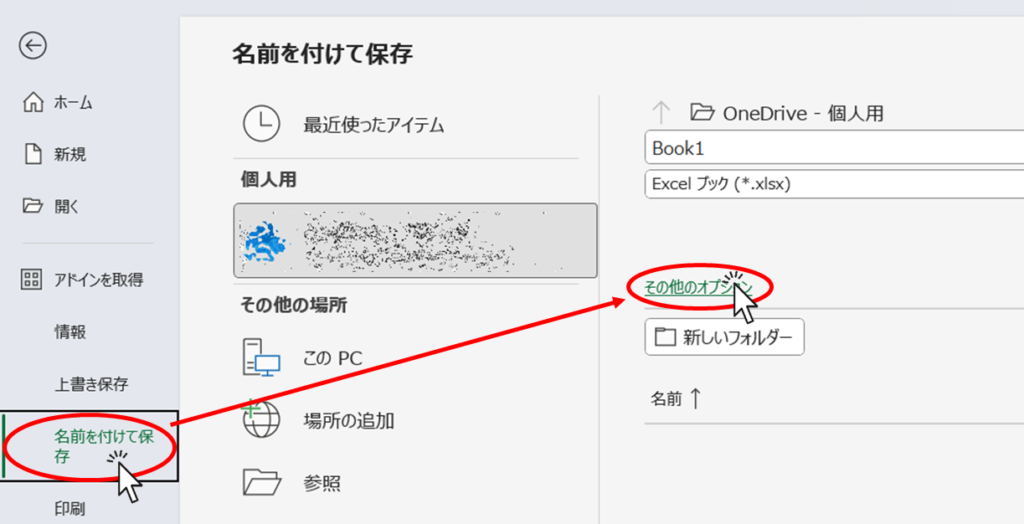
Then click "Save As" and then "More Options.
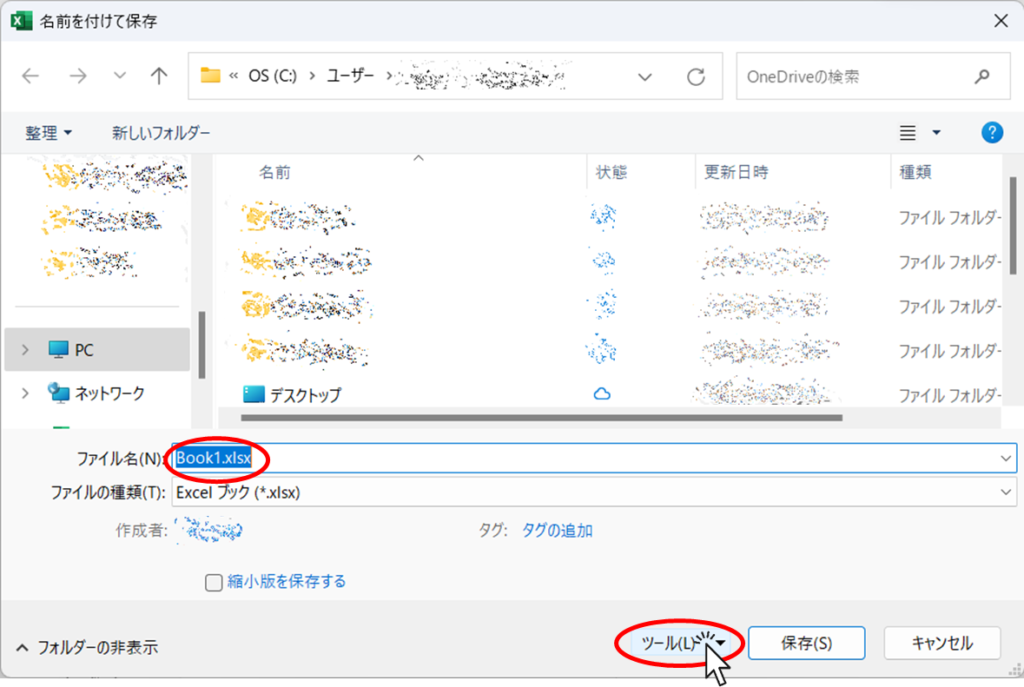
If you need to change the name of the file to save, name it here, or if you want to overwrite the file as is, you don't have to change it. Then click the "Tools" button.
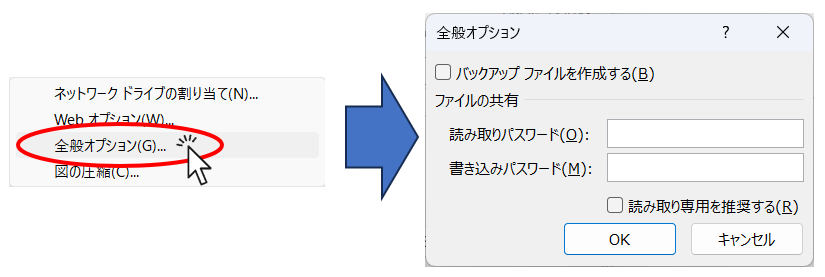
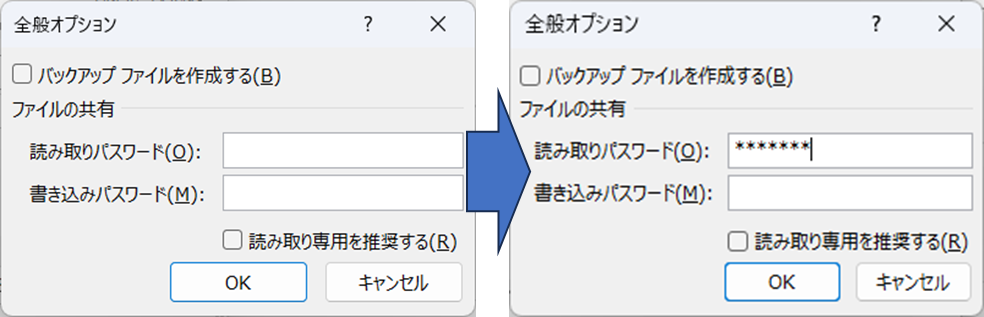
Then you will see the above options and click on "General Options". Then the "General Options" screen appears as shown on the right.
If you check the "Create backup file" checkbox here, you can create a backup file. For more information.Excel (Excel) to automatically create a backup file every time you savePlease refer to this page for a detailed explanation.
Make read-only selective selection
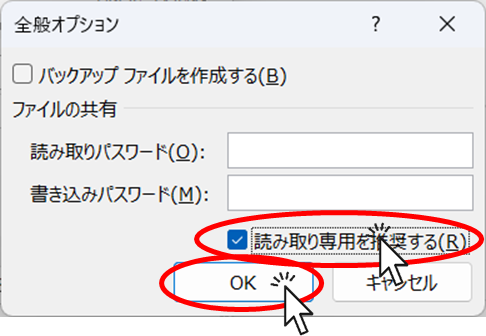
On the General Options screen, check the "Recommend read-only" checkbox and click "OK.

You will then be returned to this screen and click "Save".
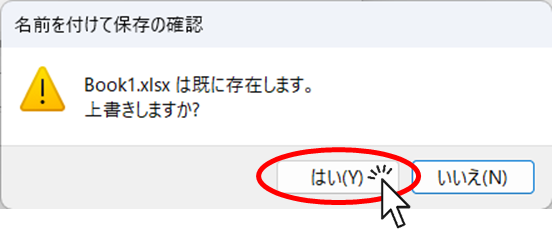
If you have already saved the file and did not rename it, a confirmation message will appear as shown in the image above.
You are now set up. Close Excel once and see how it opens.
Open the saved Excel file.
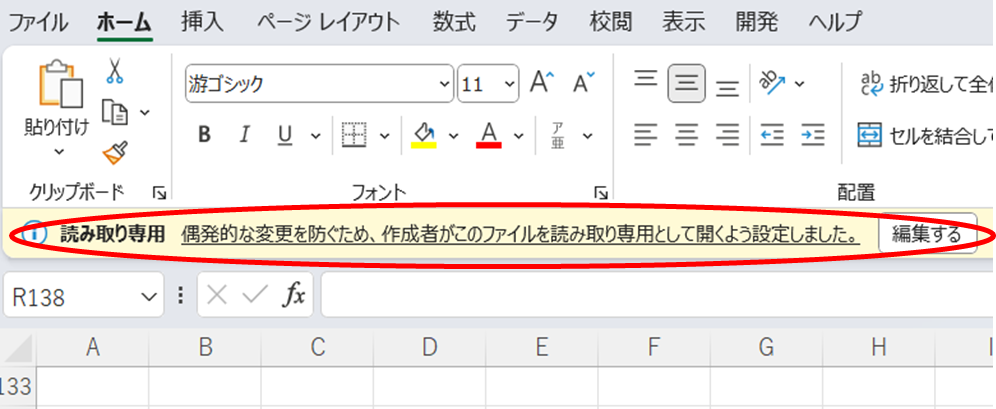
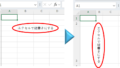
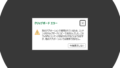
Then, the upper part of the screen displays something like this. If you try to overwrite and save in this state, you will see
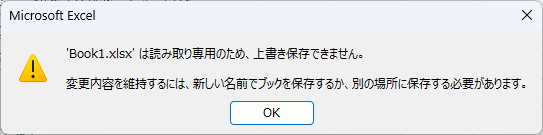
and could not overwrite and save. Then, when the "OK" button was pressed
You are now automatically taken to the "Save As" screen.
But if you still try to save the file with the same name as it is.
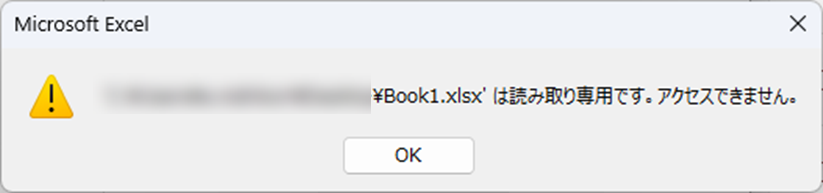
and could not overwrite and save.
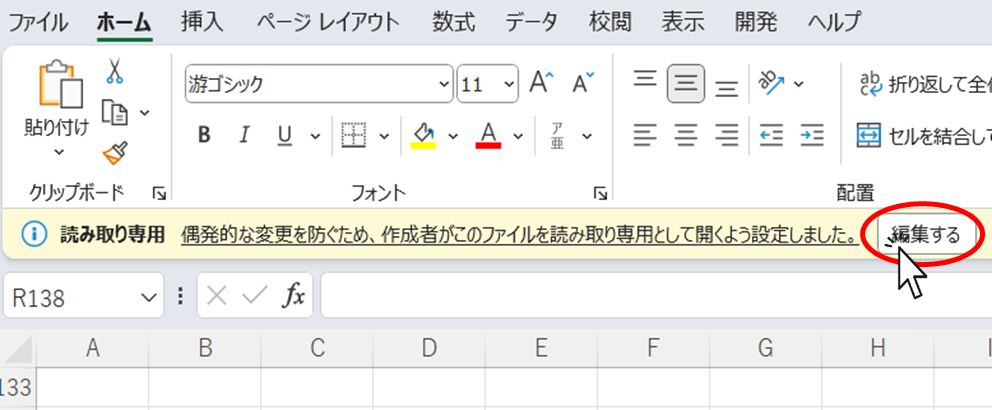
However, this is a "read-only recommendation," so if you really want to overwrite the file, you can cancel the "read-only" mode by pressing the "Edit" button at the top of the screen.
Forced read-only (set password)
The next step is to set up the settings when you absolutely do not want to be overwritten.
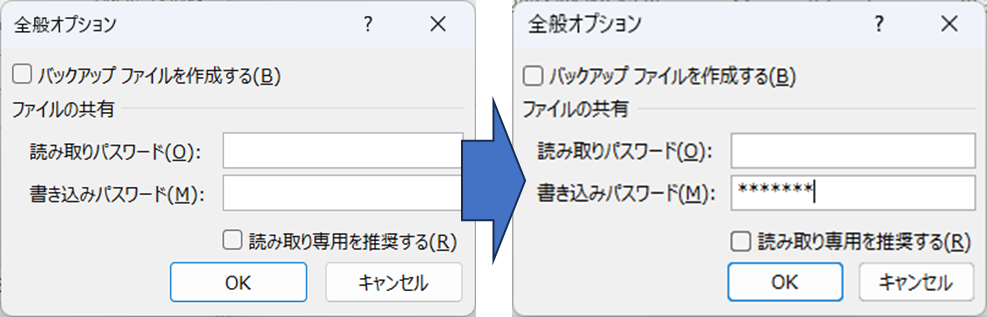
Display the General Options screen."The screen displayed in the following section is displayed.
Then enter any string of characters in the "Write Password" field and press the OK button.
*Do not forget this string at this time!
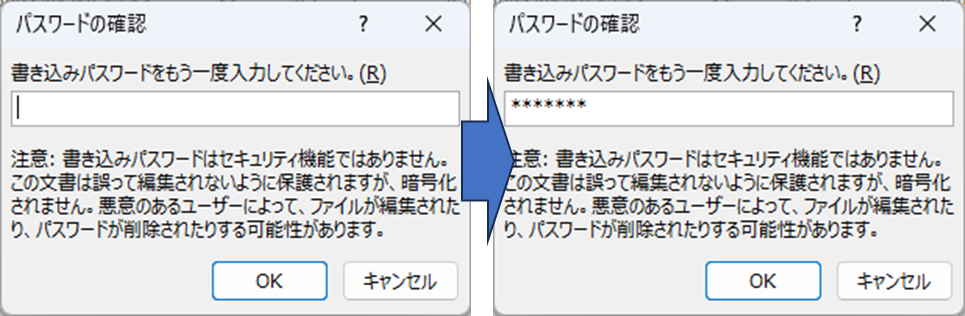
When the confirmation screen appears again, enter the same string of characters as before and press the OK button.

Then press the "Save" button.
This completes the setup, so close Excel once.
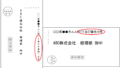
And when you try to open it again

You will be asked to enter your password in this manner.
If you enter the password here and press the "OK" button to open the file, you can open it as a normal mode, but if you press the "Read Only" button, you can open it in "Read Only" mode.
In this case, however, the "read-onlyrecommendationUnlike "normal" mode, it is not possible to return to normal mode, so if you need to save the file, you will have to save it under a different name or in a different location.
Set a password for opening
The next step is to set up the system so that it cannot even be opened without knowing the password.
Display the General Options screen."The screen displayed in the following section is displayed.
Then enter any string of characters in the "Read password" field and press the OK button.
*Never forget this string at this time.Let's make it a

When the confirmation screen appears again, enter the same string of characters as before and press the OK button.

Then press the "Save" button.
This completes the setup, so close Excel once.
And when you try to open it again
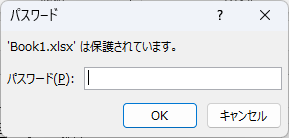
You will be asked to enter a password like this. If you enter the wrong password or press the "Cancel" button, you will not be able to open it.
Enter the correct password and press "OK" to open the file.

Comment