Learn how to automatically create a backup file every time you save Excel.
Display the General Options screen
First, display the "Save As" screen.
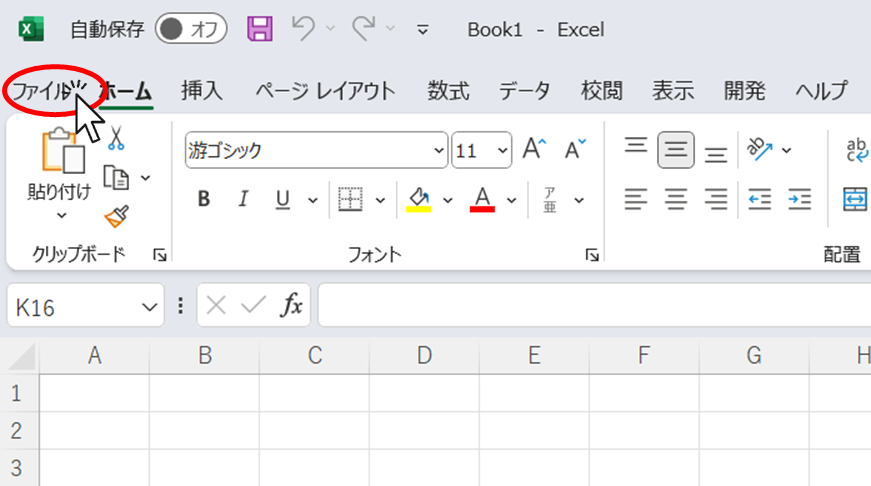
Click on the "File" tab in the Excel screen
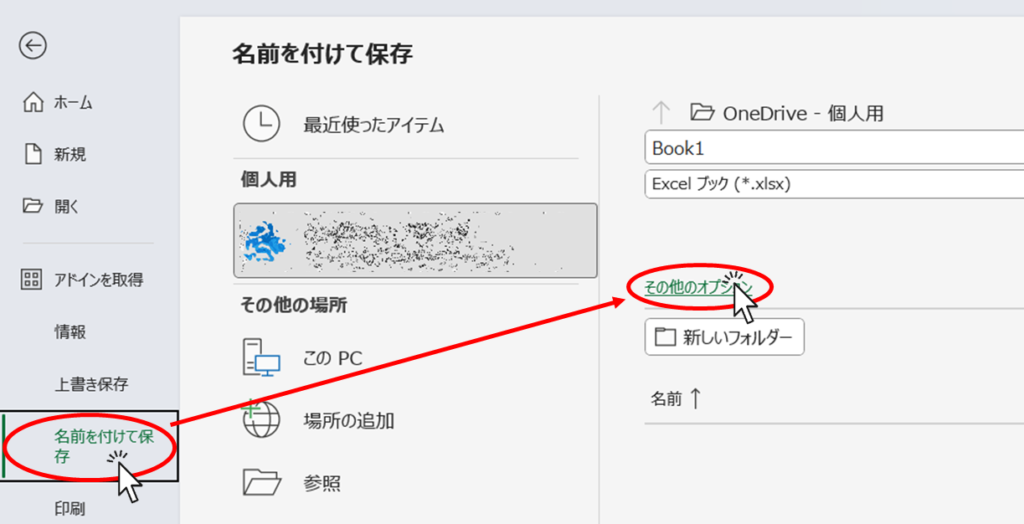
Then click "Save As" and then "More Options.
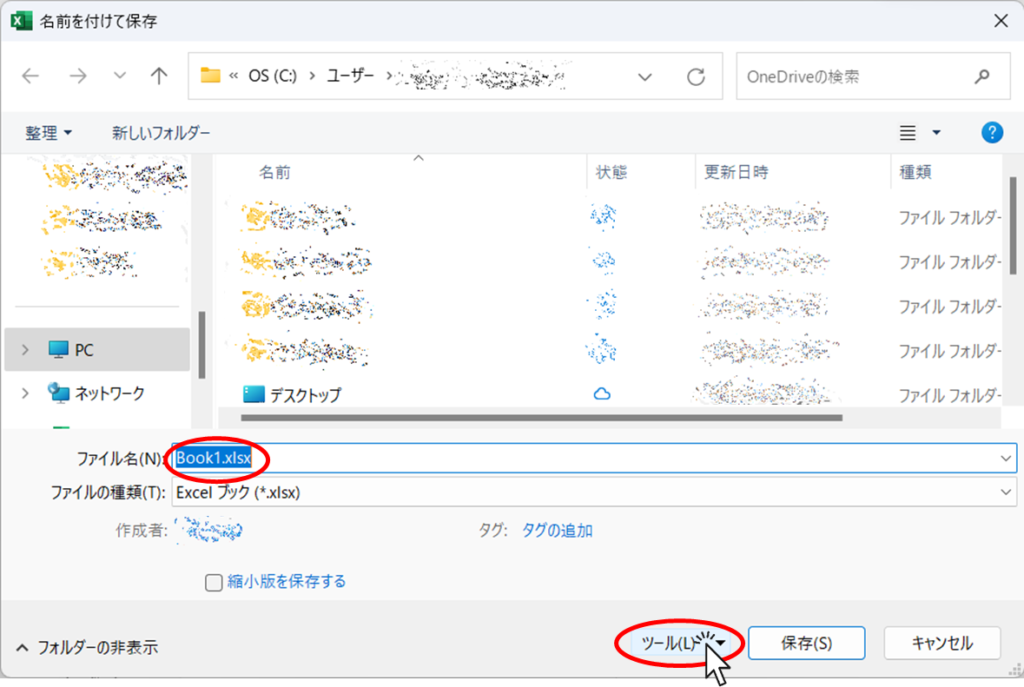
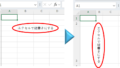
If you need to change the name of the file to save, name it here, or if you want to overwrite the file as is, you don't have to change it. Then click the "Tools" button.
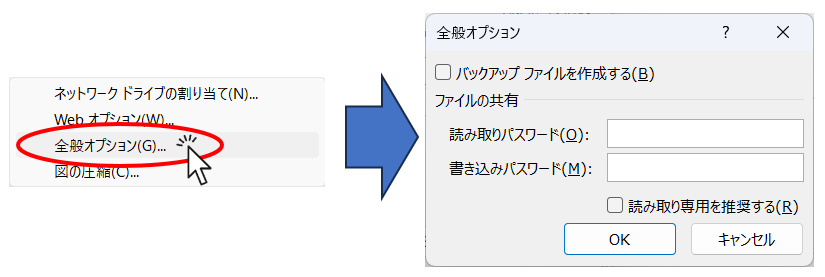
Then you will see the above options and click on "General Options". Then the "General Options" screen appears as shown on the right.
You can set read-only or set a password by configuring the area below "File Sharing" here. For more informationHow to set up read-only and password Excel (Excel).
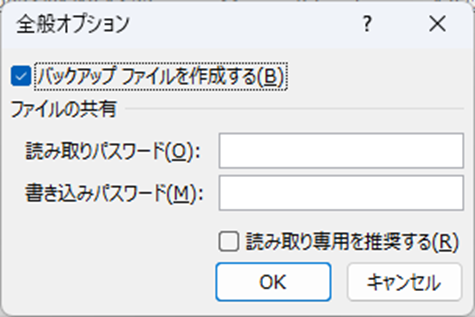
Check the "Create backup file" checkbox and press the "OK" button.
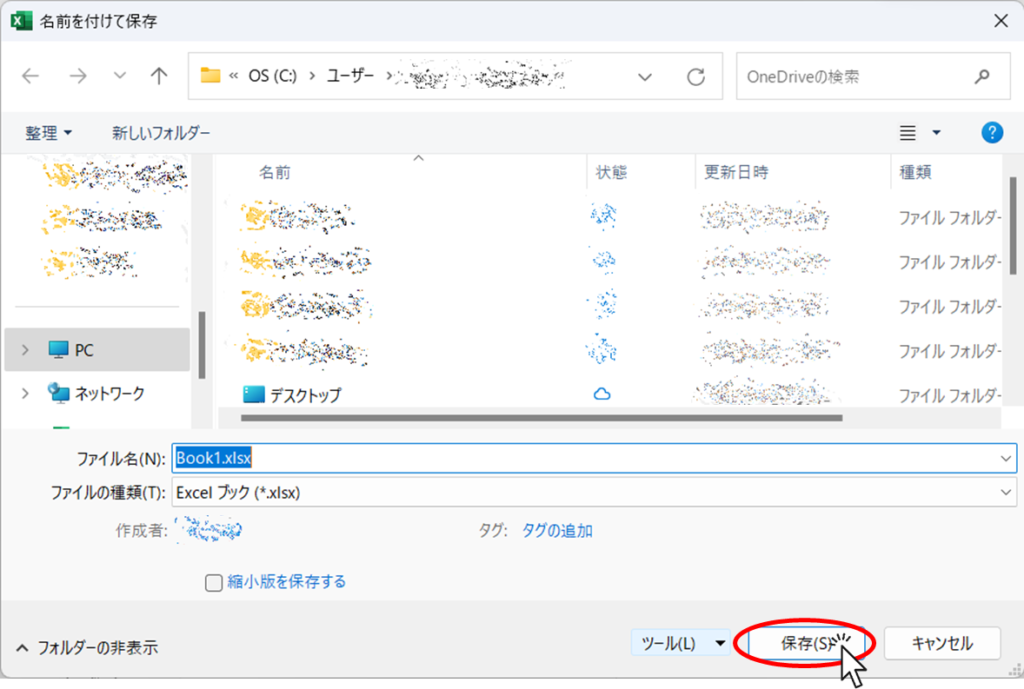
Then press the "Save" button.
This completes the setup, so close Excel once.
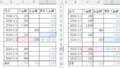
Then I looked at the folder where the files are stored.
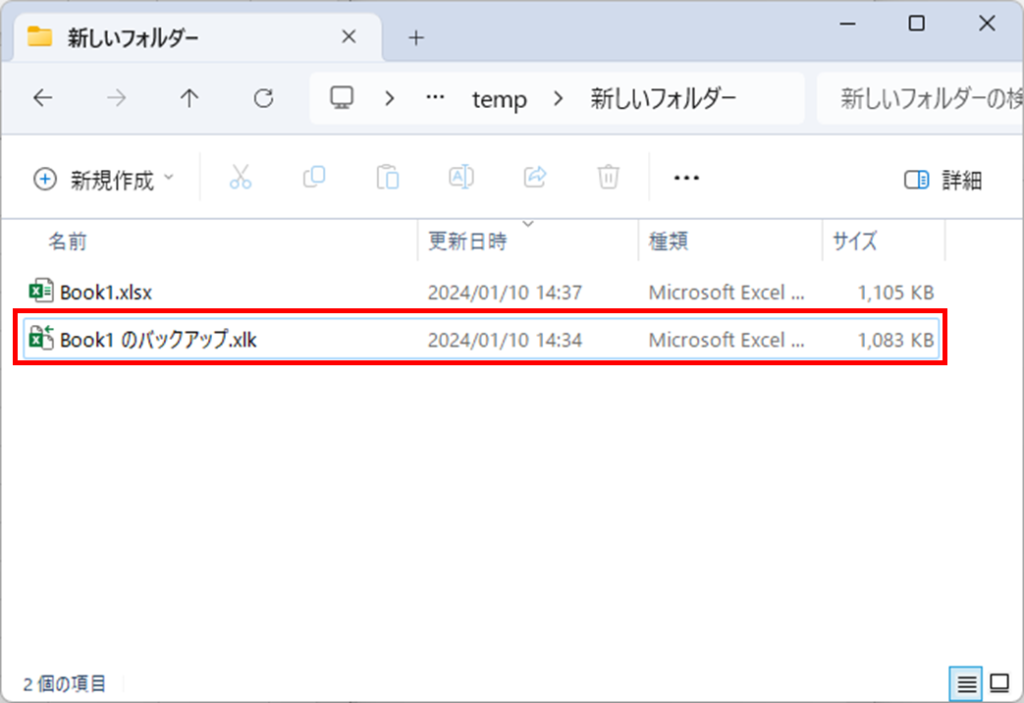
A new backup file with the extension ".xlk" is created.
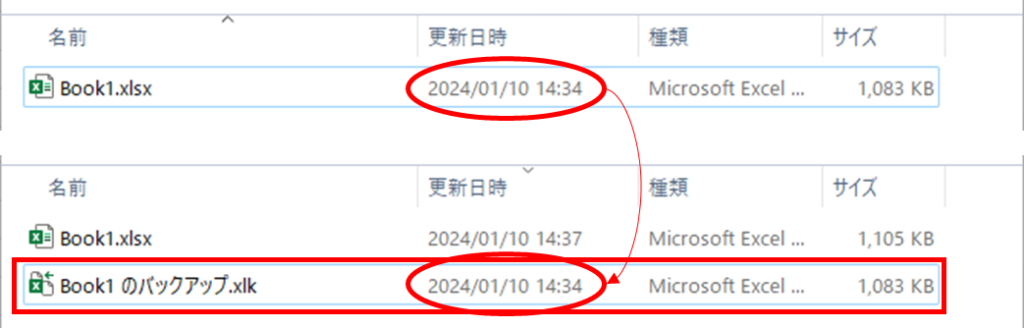
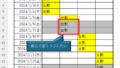
The update date is the time before the data was saved this time, so you can see that the data before saving is still here.
After this, each time you overwrite a file, the backup file from one generation ago will be overwritten here, so there will always be one current file and one backup file.
The number of backup files does not keep growing.
Restoring from a Backup File
Next, we will show you how to restore from a backup file.

Double-click on the backup file with the extension ".xlk" to open it.

You will then get an error message like this, but click "Yes" to open the file.

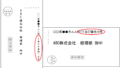
Then from "Save As", specify the "Save Location" and "File Name" and click "Save".
The restoration from the backup file is now complete.


Comment