When using the sheet protection function, there is a function that allows detailed usage such as "Allow selection and input in this range of cells, but not in other cells.
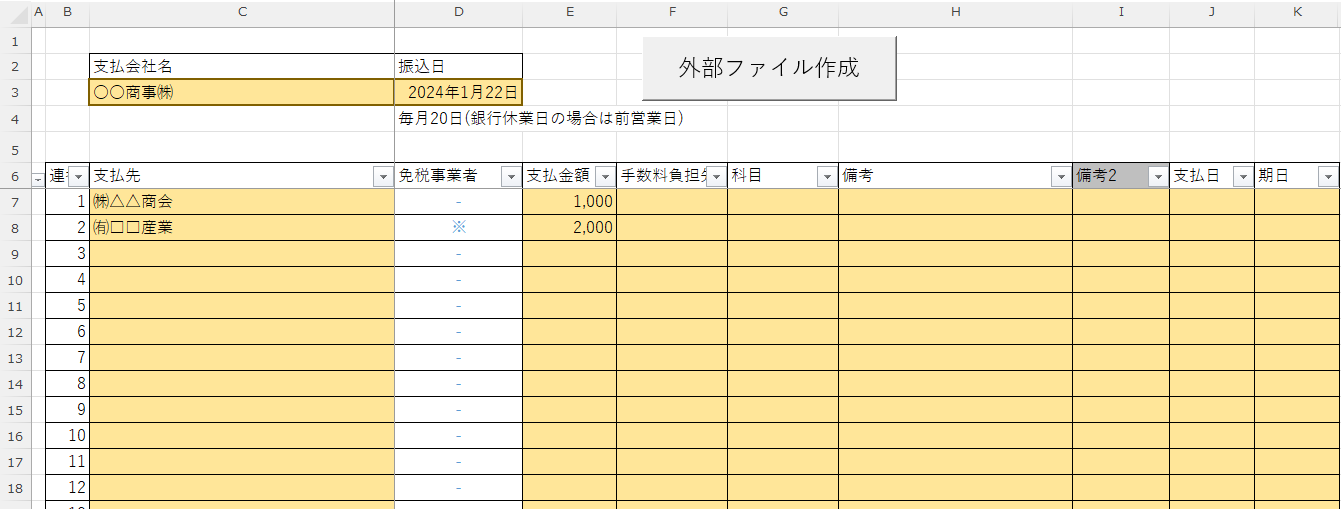
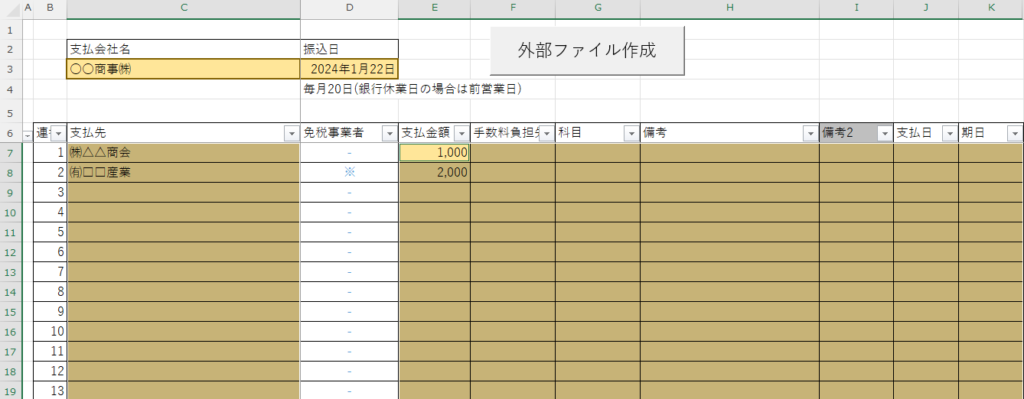
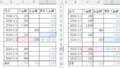
For example, let's say you have a system that automatically generates transfer data when you enter a company name and amount of money, as shown below. In this example, the system works by entering data in the yellow shaded cells and pressing a button, but if a column is inserted or deleted without permission, or a function is deleted or overwritten in a cell containing a function, the function may not work properly or may break.
In such cases, you can prohibit input, cell selection, column insertion, column deletion, etc., except for cells shaded in yellow.
In this issue, we will show you how to protect only this specific area.
- If you have forgotten your password and can no longer remove the protectionForgot Password] How to remove sheet protection Excel (Excel)for more information.
- For more information on how to set up the specific sheet protection features in detail.Sheet Protection Functions ExcelSee also
Specify the range that is not locked (allowed to be edited)
First, select the cells in Excel where you want to allow input.

This time, first select the "C3" cell and "C3".
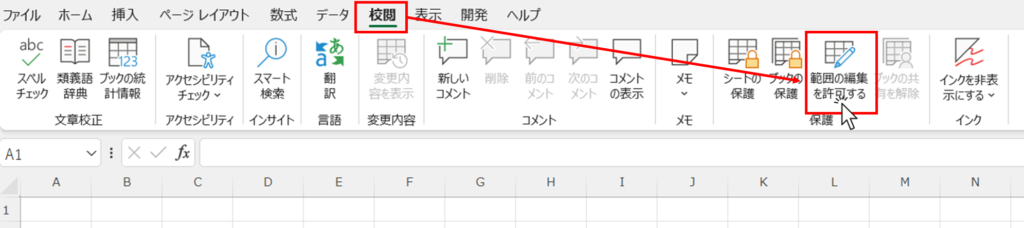
Next, click on the "Allow editing of ranges" button on the "Review" tab.

You will then see a screen like the one below.
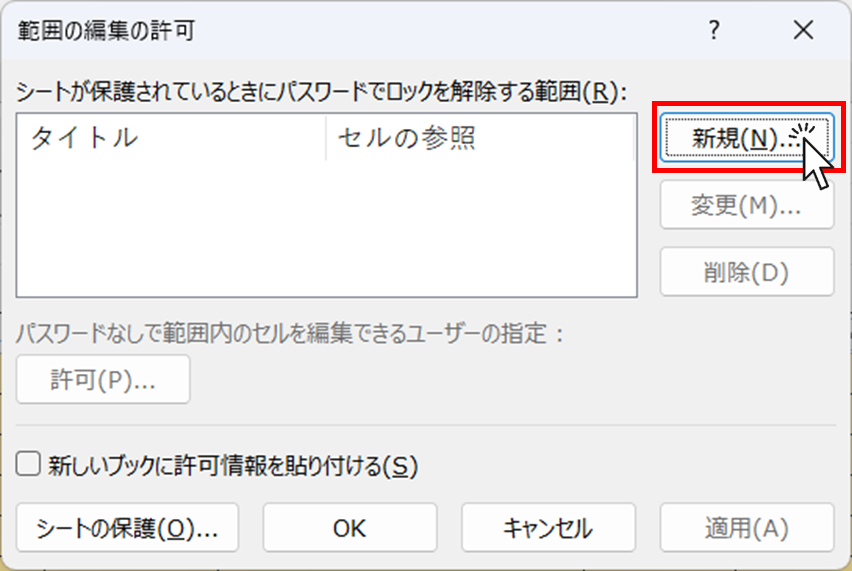
Click the "New" button.
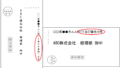
The screen now switches to the one shown below.
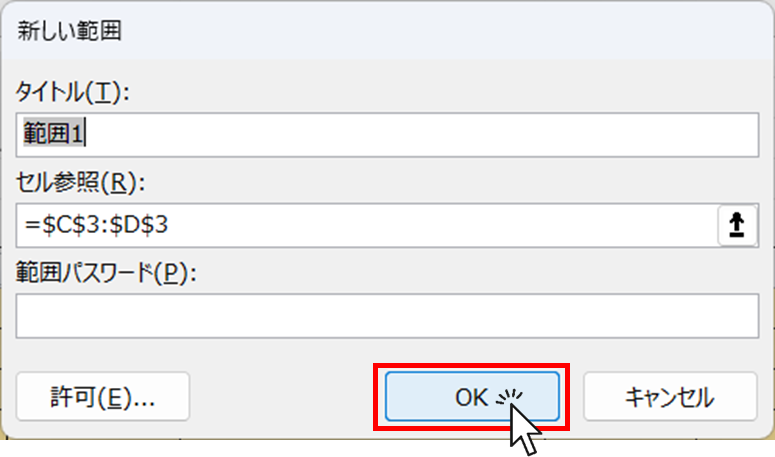
In this case, the area to be selected has already been selected, so the "OK" button is pressed.
You will then see that the range you just specified has been added.

If you want to redo the selection of the range, modify it from the "Change" button, and if there are no problems, continue to press the "OK" button.
Apply sheet protection
With the range of the sheet allowed to be edited specified in "1.", the sheet is now protected.
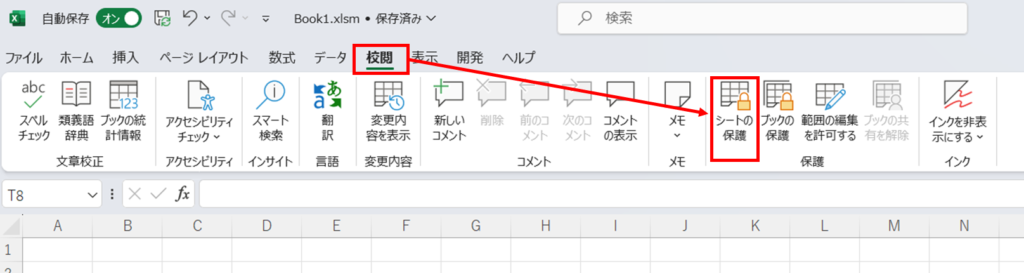
On the "Review" tab, click the "Protect Sheet" button.
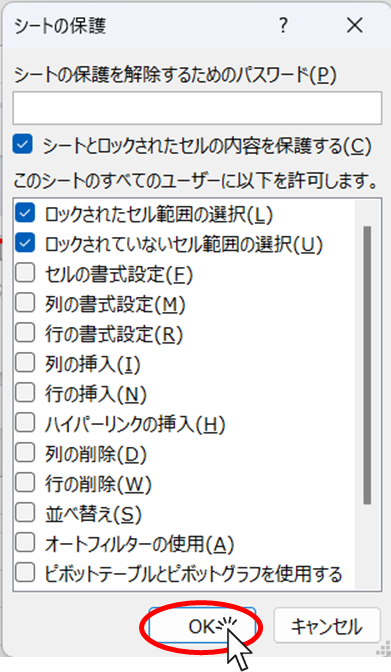
Then the following screen will appear and click the "OK" button.
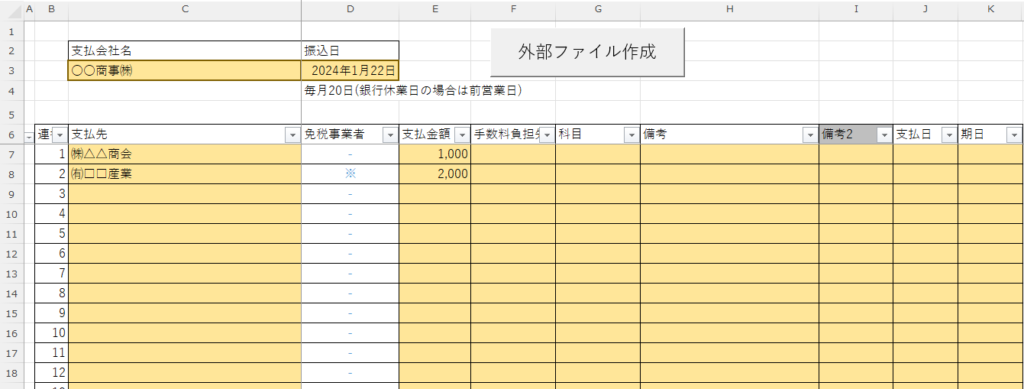
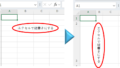
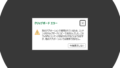
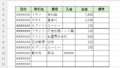
The screen returns to the original screen and looks the same as it did before the lock was applied, but if you try to change the value of a cell that is not "allowed" to be edited

screen and I am no longer able to enter a value.
Add a range that is not locked (allowed to be edited)
With the above settings, only two cells, C3 and D3, can be edited, so you cannot enter the all-important payee data. Therefore, we need to add a range where editing is allowed.
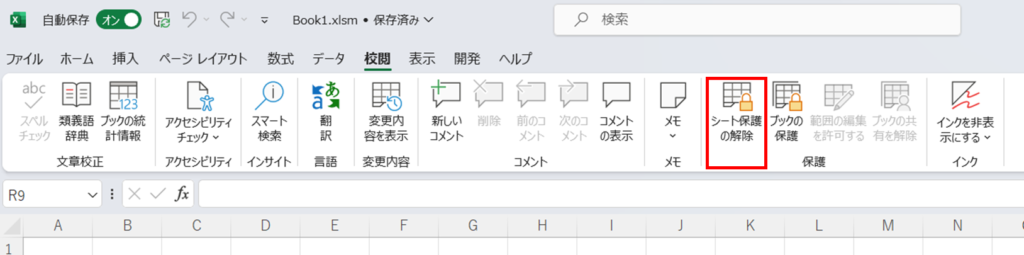
First, remove the protection with the "Remove Sheet Protection" button.
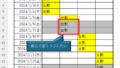
Next, select the range on Excel that you want to allow for addition.
In the example above, I selected C7 to C19, then E7 to K19 while holding down the "Ctrl" button. In this way, you can select distant areas at the same time.
In this state, press the "Allow Editing Range" button as you did earlier.
As before, you can add a range by pressing the "New" button and then the "OK" button.
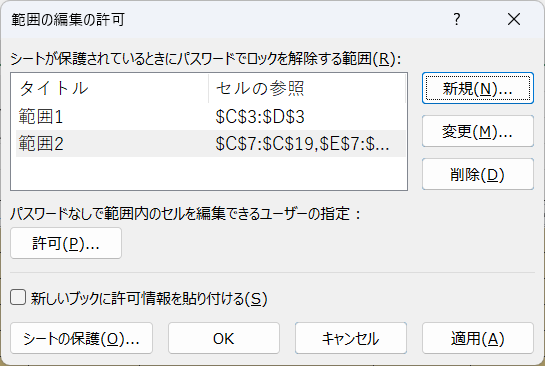
Finally, by pressing the "OK" button, we were able to add the range where editing is allowed.
Apply "sheet protection" again and make sure that you can enter the range you want to have entered, but not the other ranges.
If the range settings are not as intended, repeat this process, adding and editing ranges to create the input screen as you wish.
Also, if you want to edit the allowed behavior in more detail, such as "allow deleting rows but not adding rows," please refer to this page.Sheet Protection Functions Excel

Comment